How to – Wheel refurbish time…
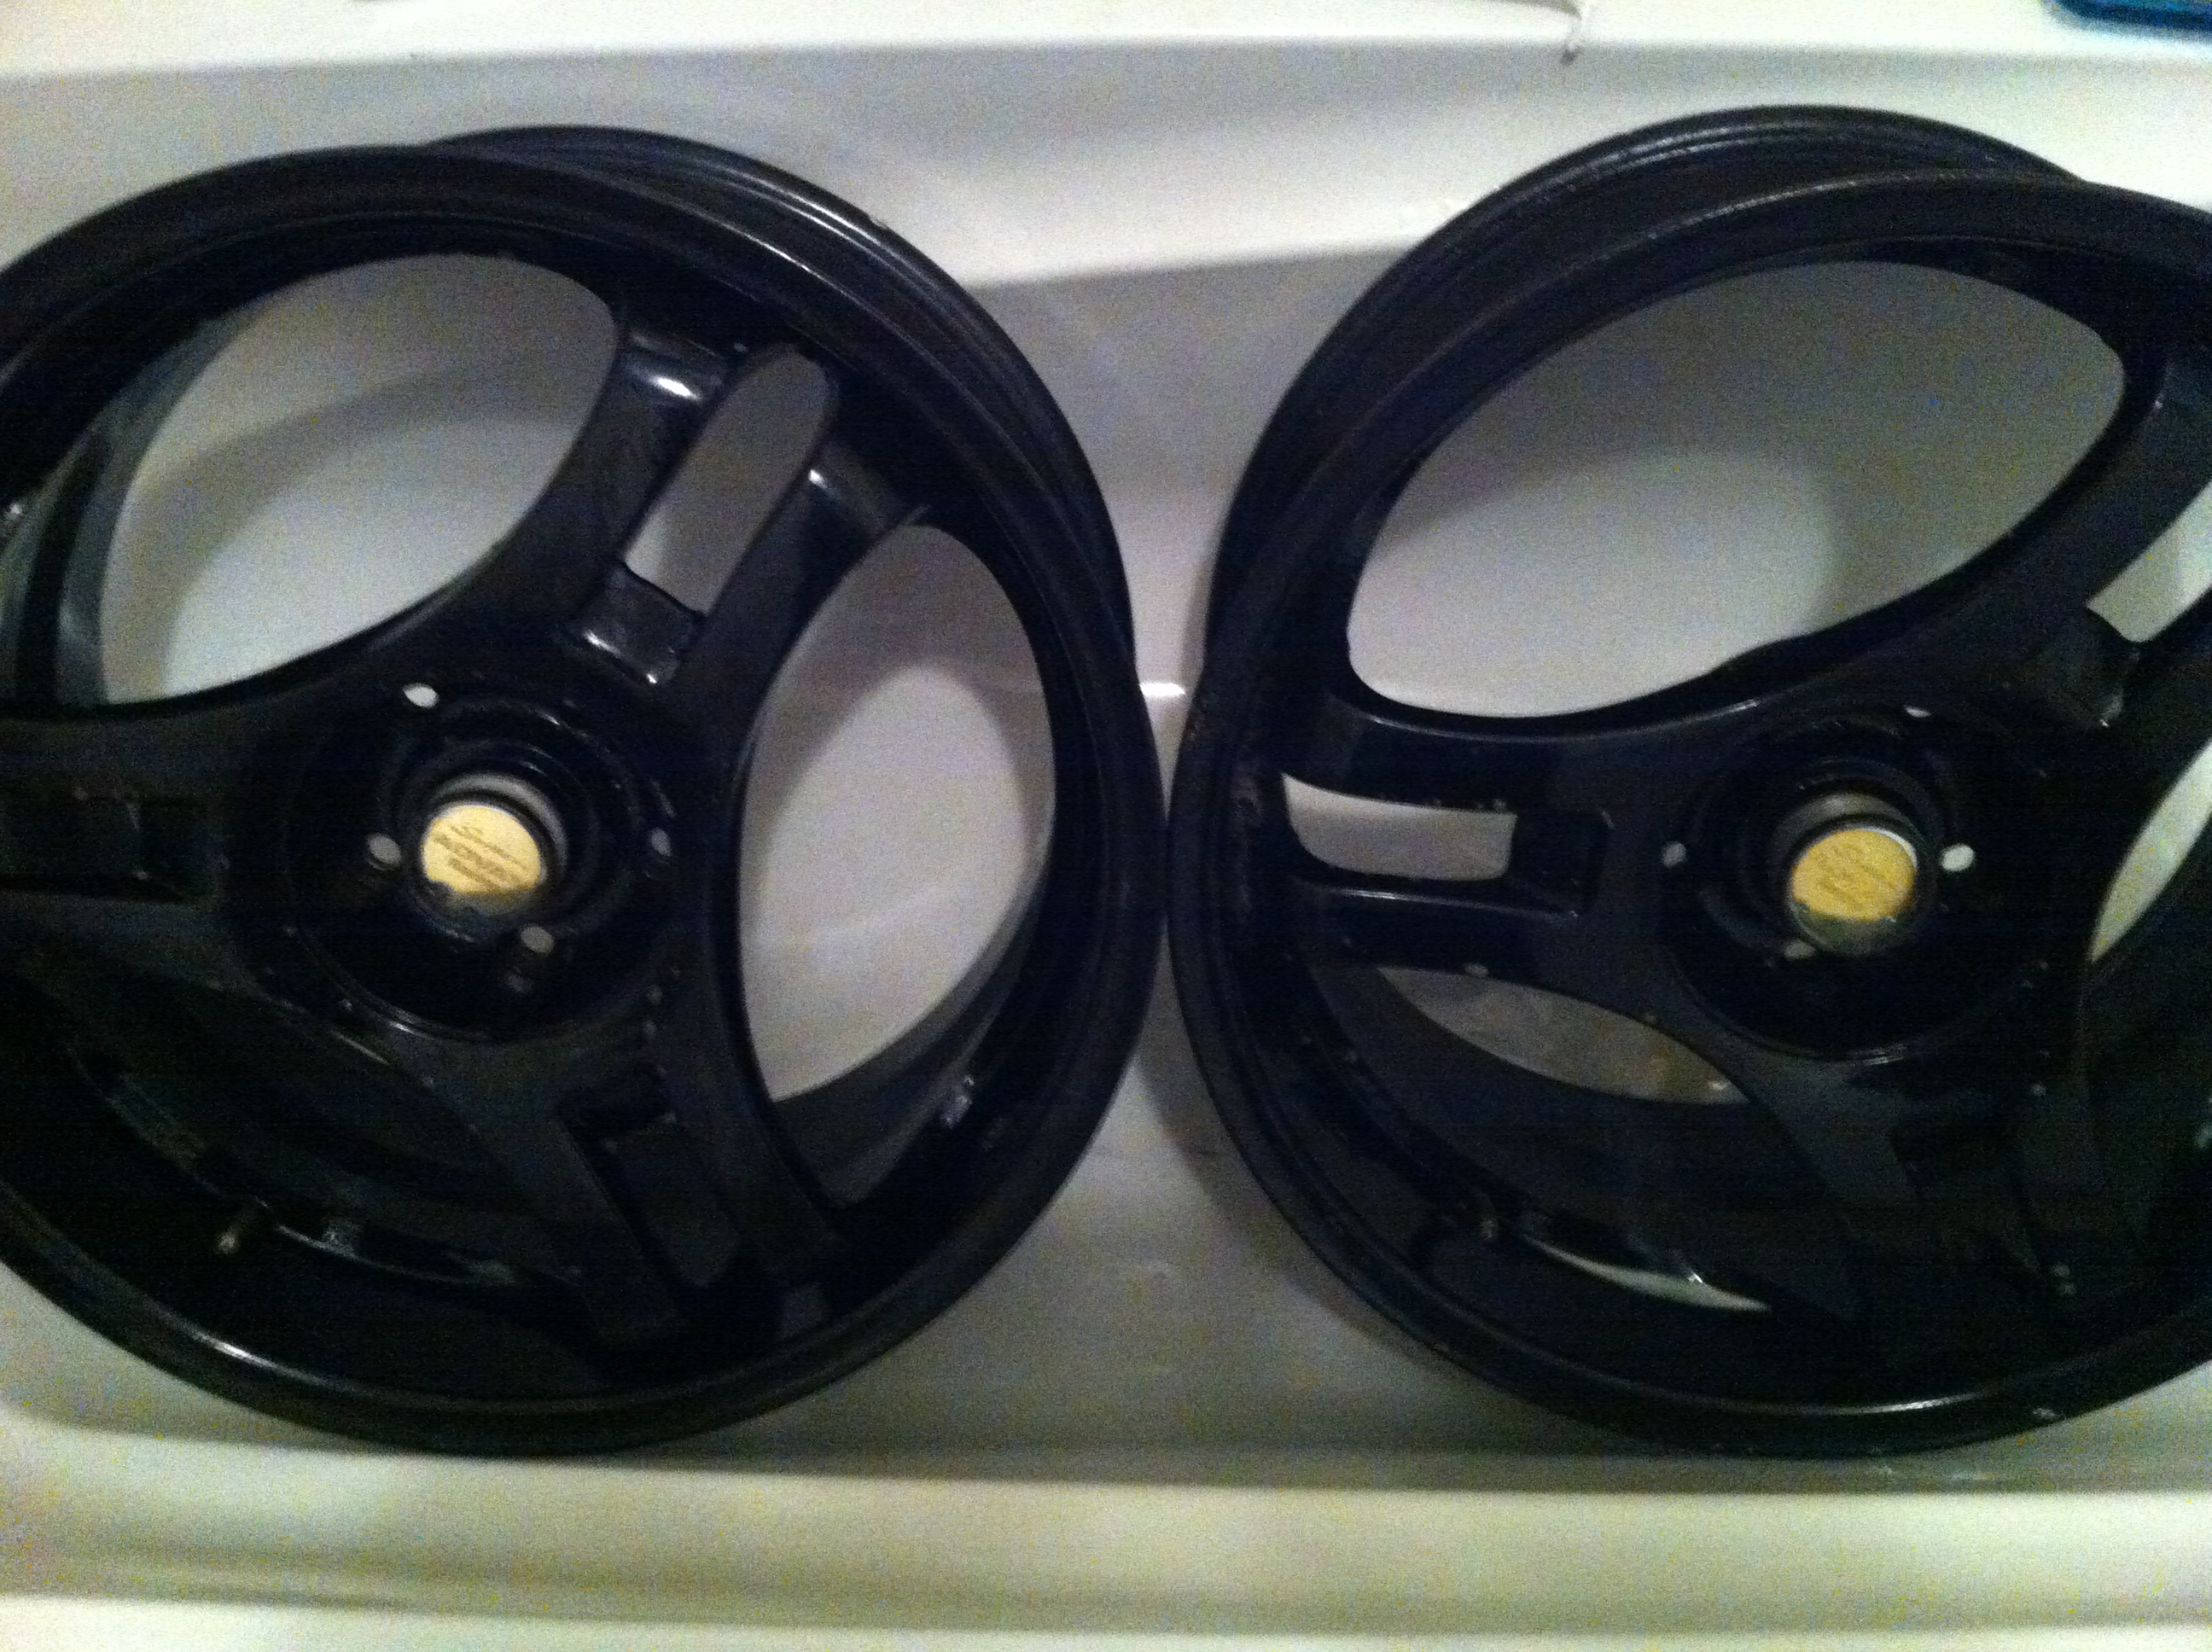
 Super Advan Sa3 Version 2
What do we think, will they work on a Nissan 350z?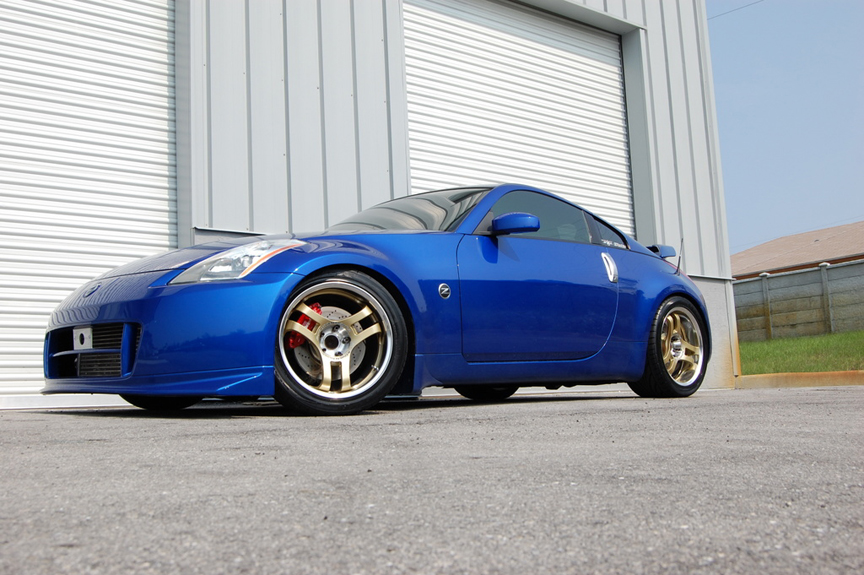
Naturally, I felt we needed an alloy wheel refurb before they go on the car…

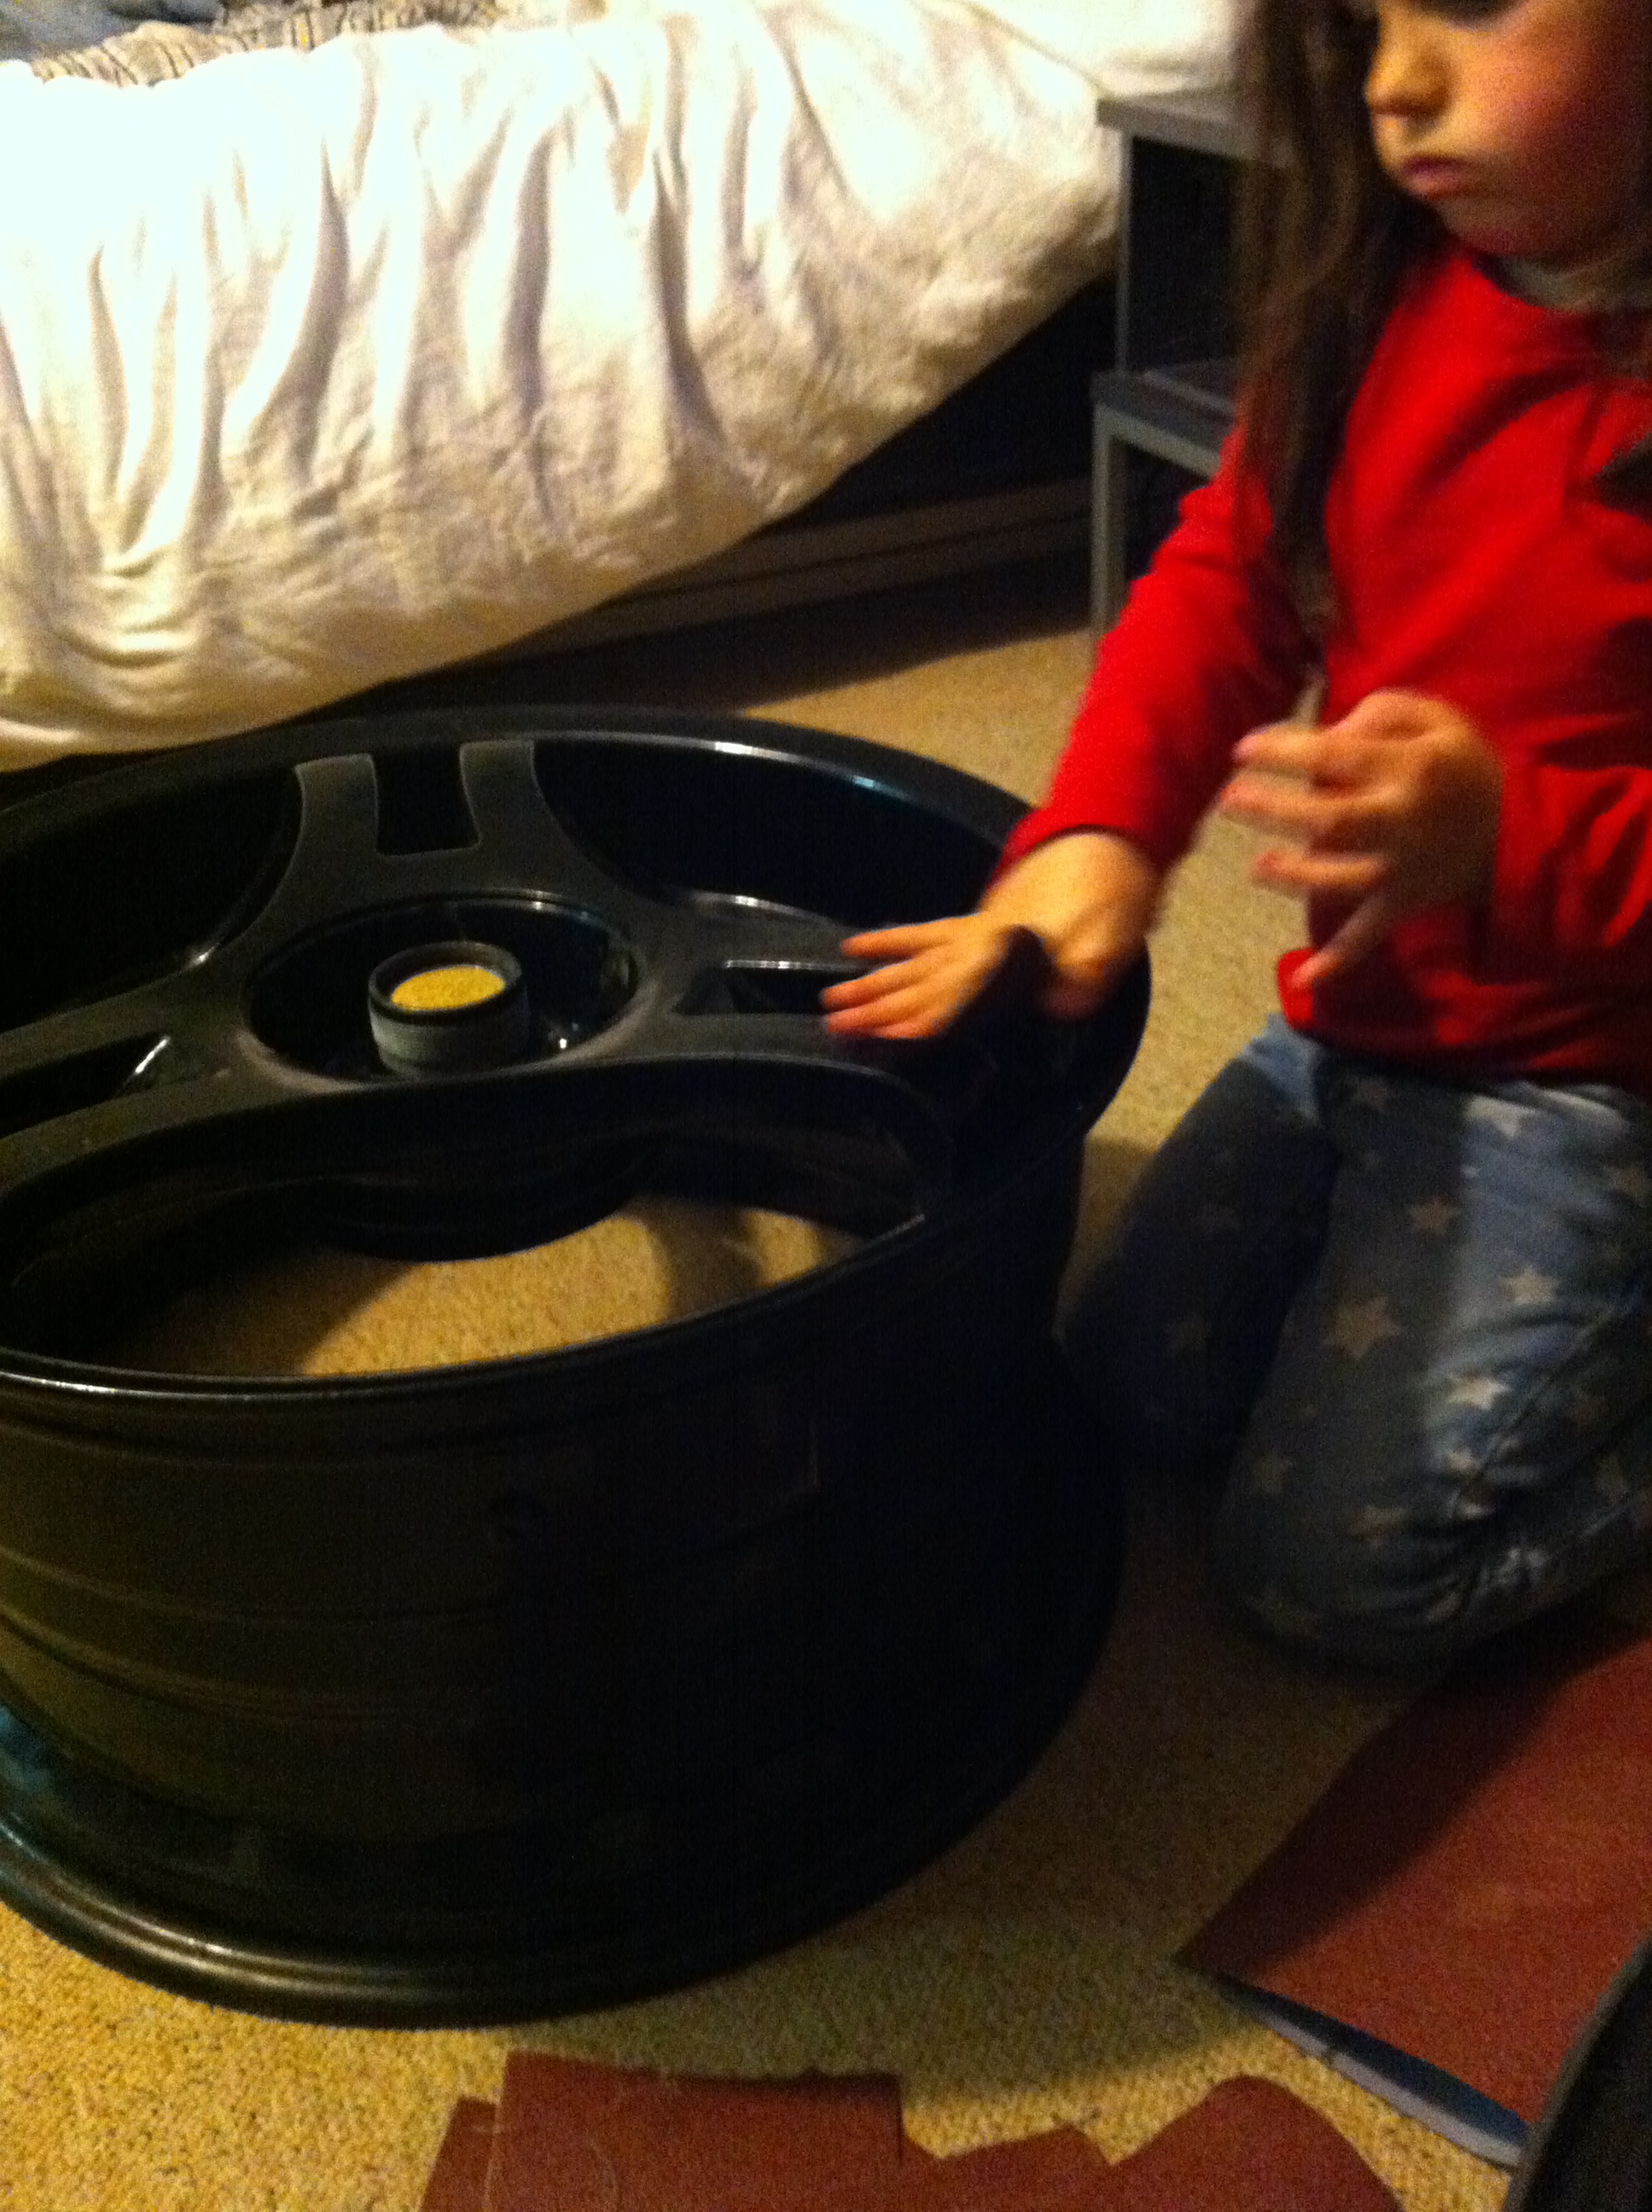
So like all normal parents, I asked my daughter (4yr old) to help me 😀 She’s very practical!
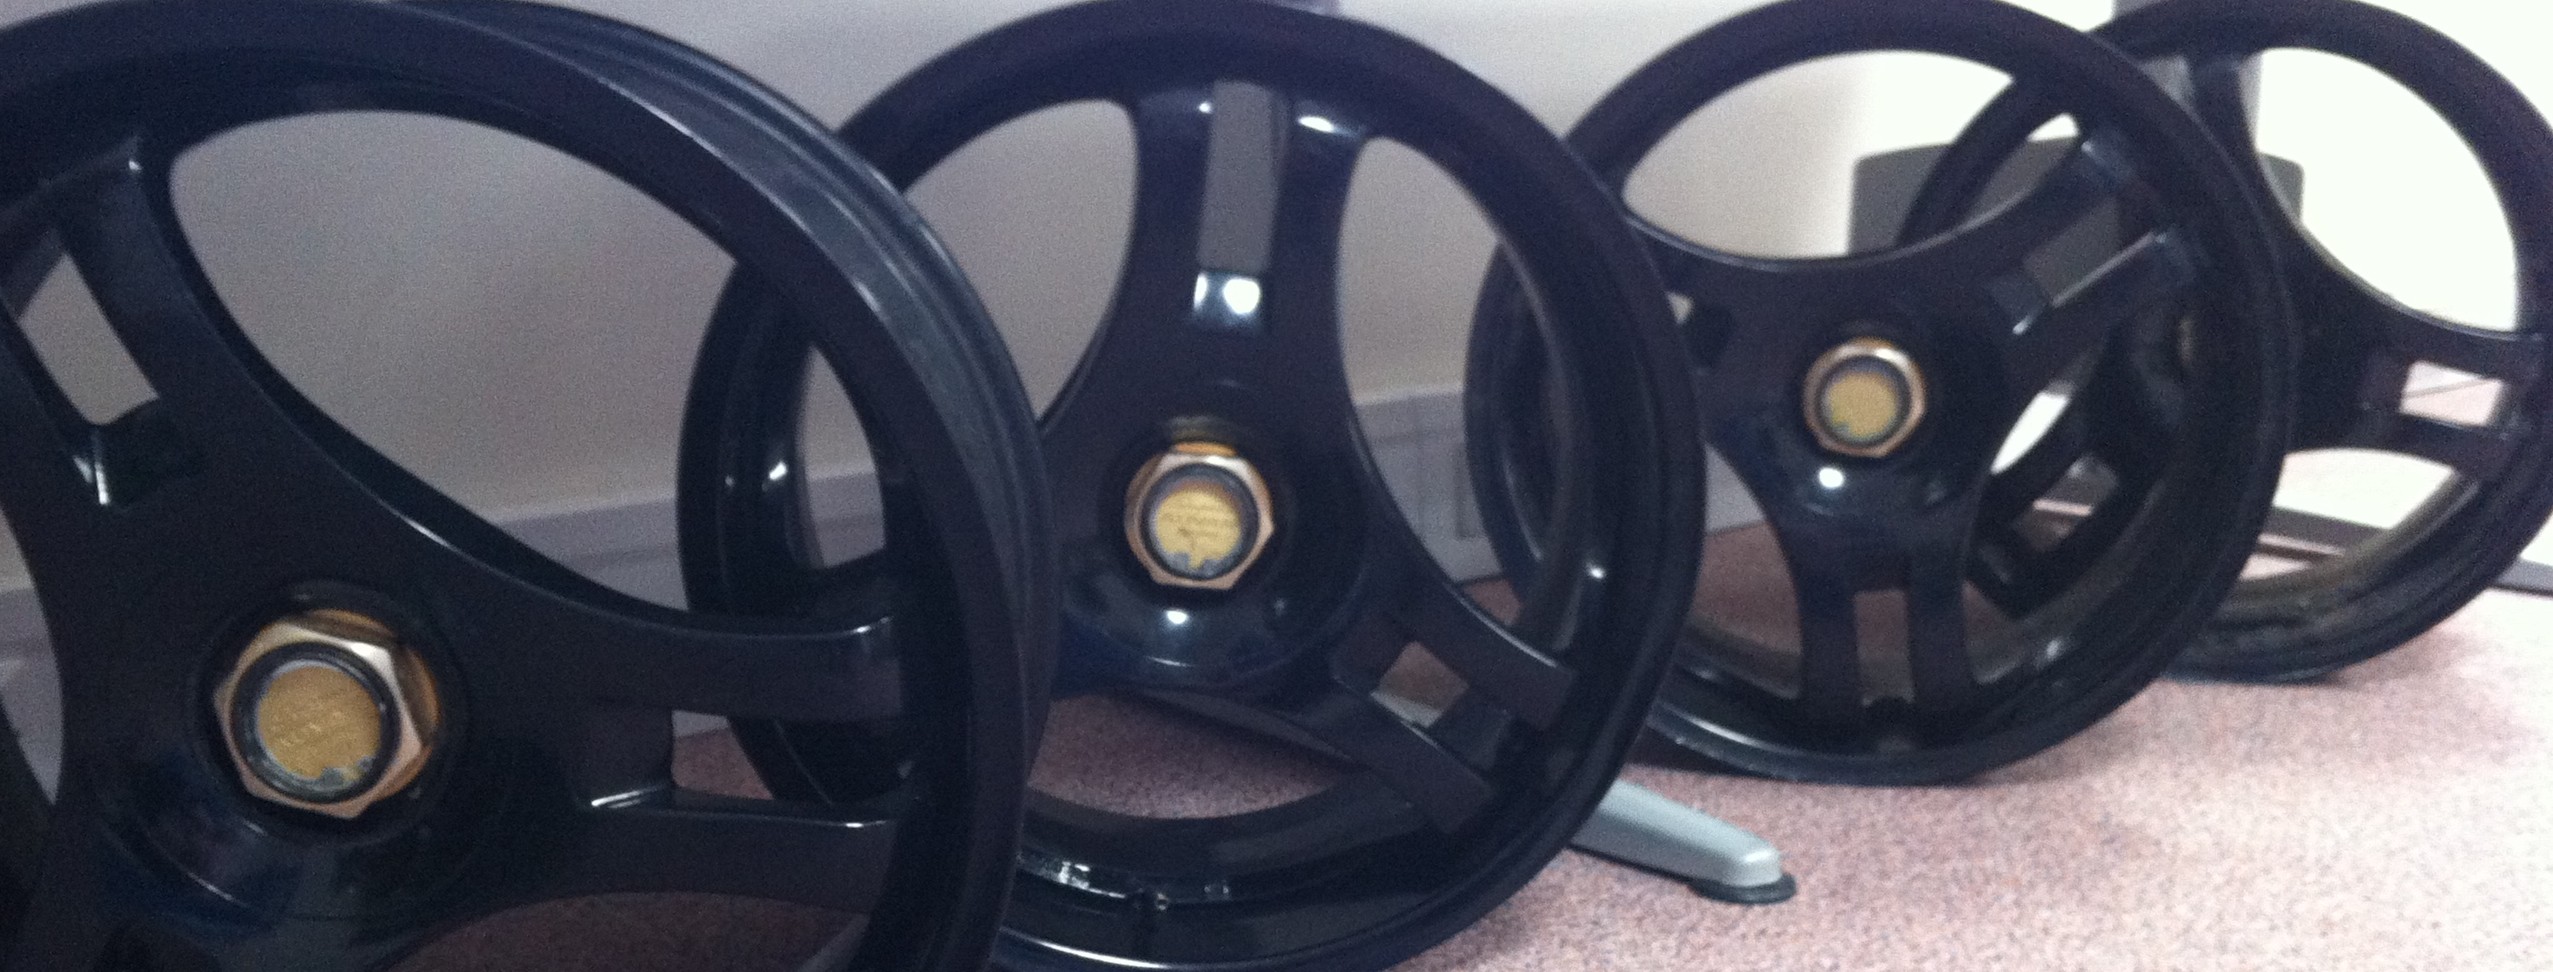
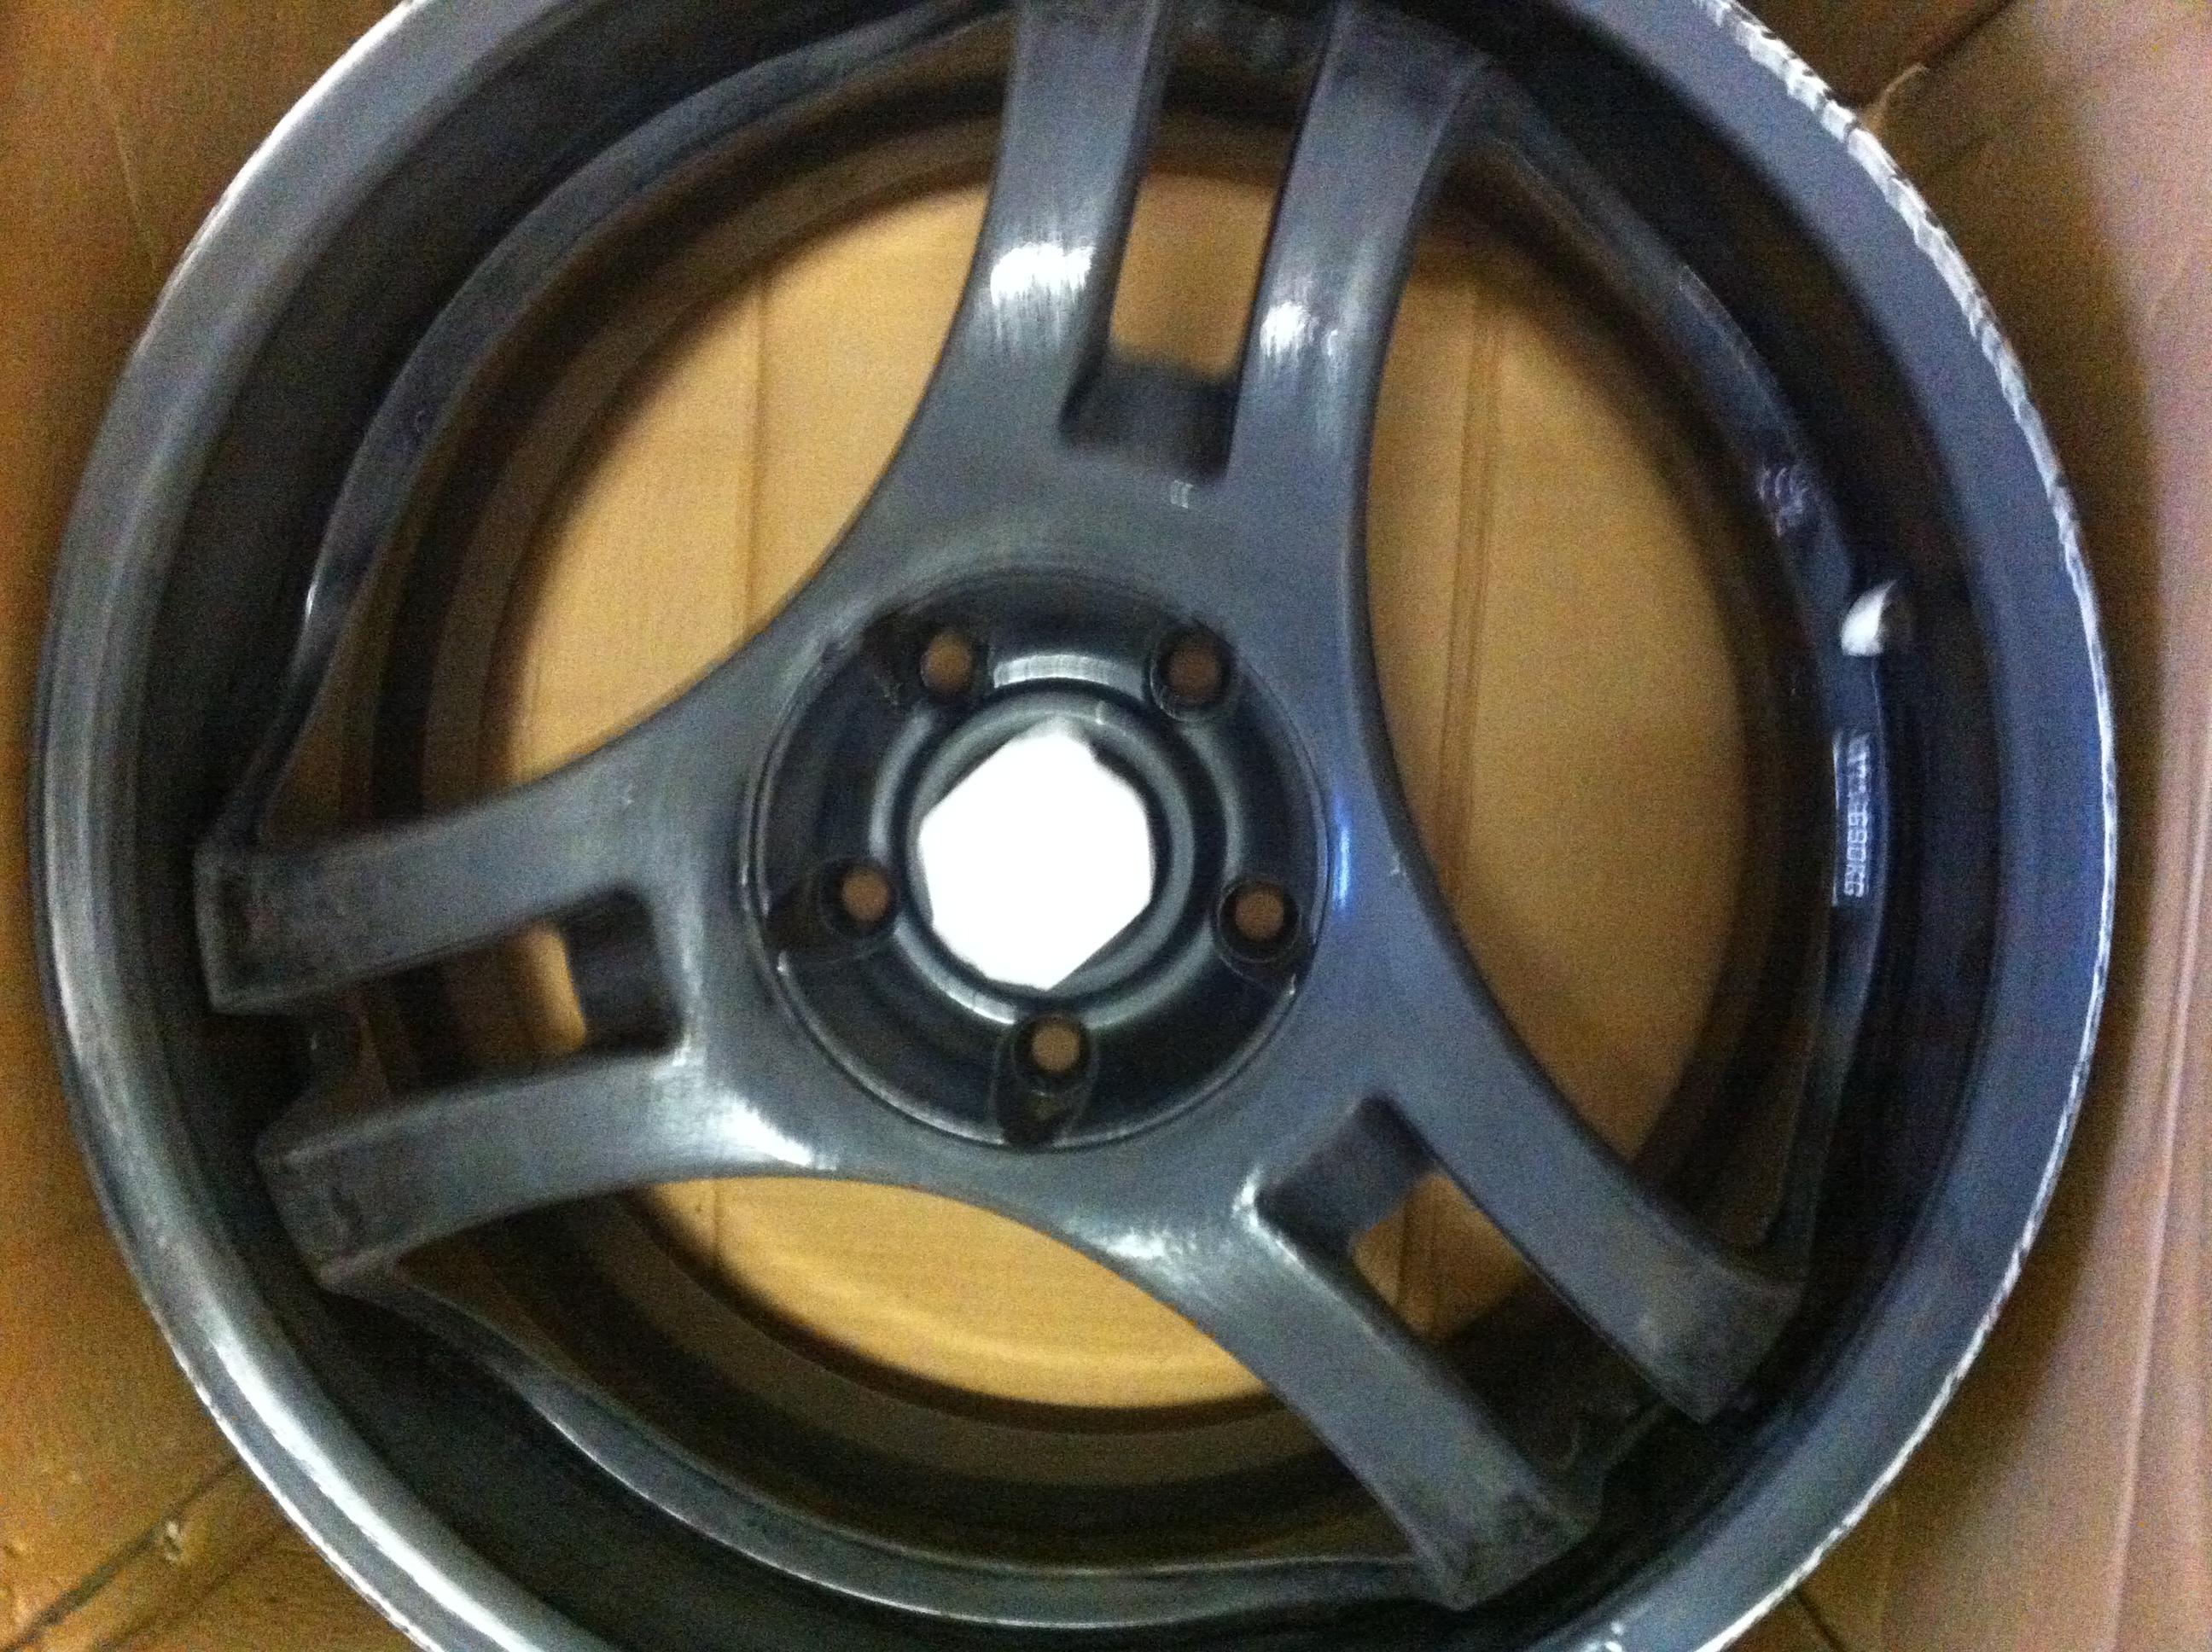
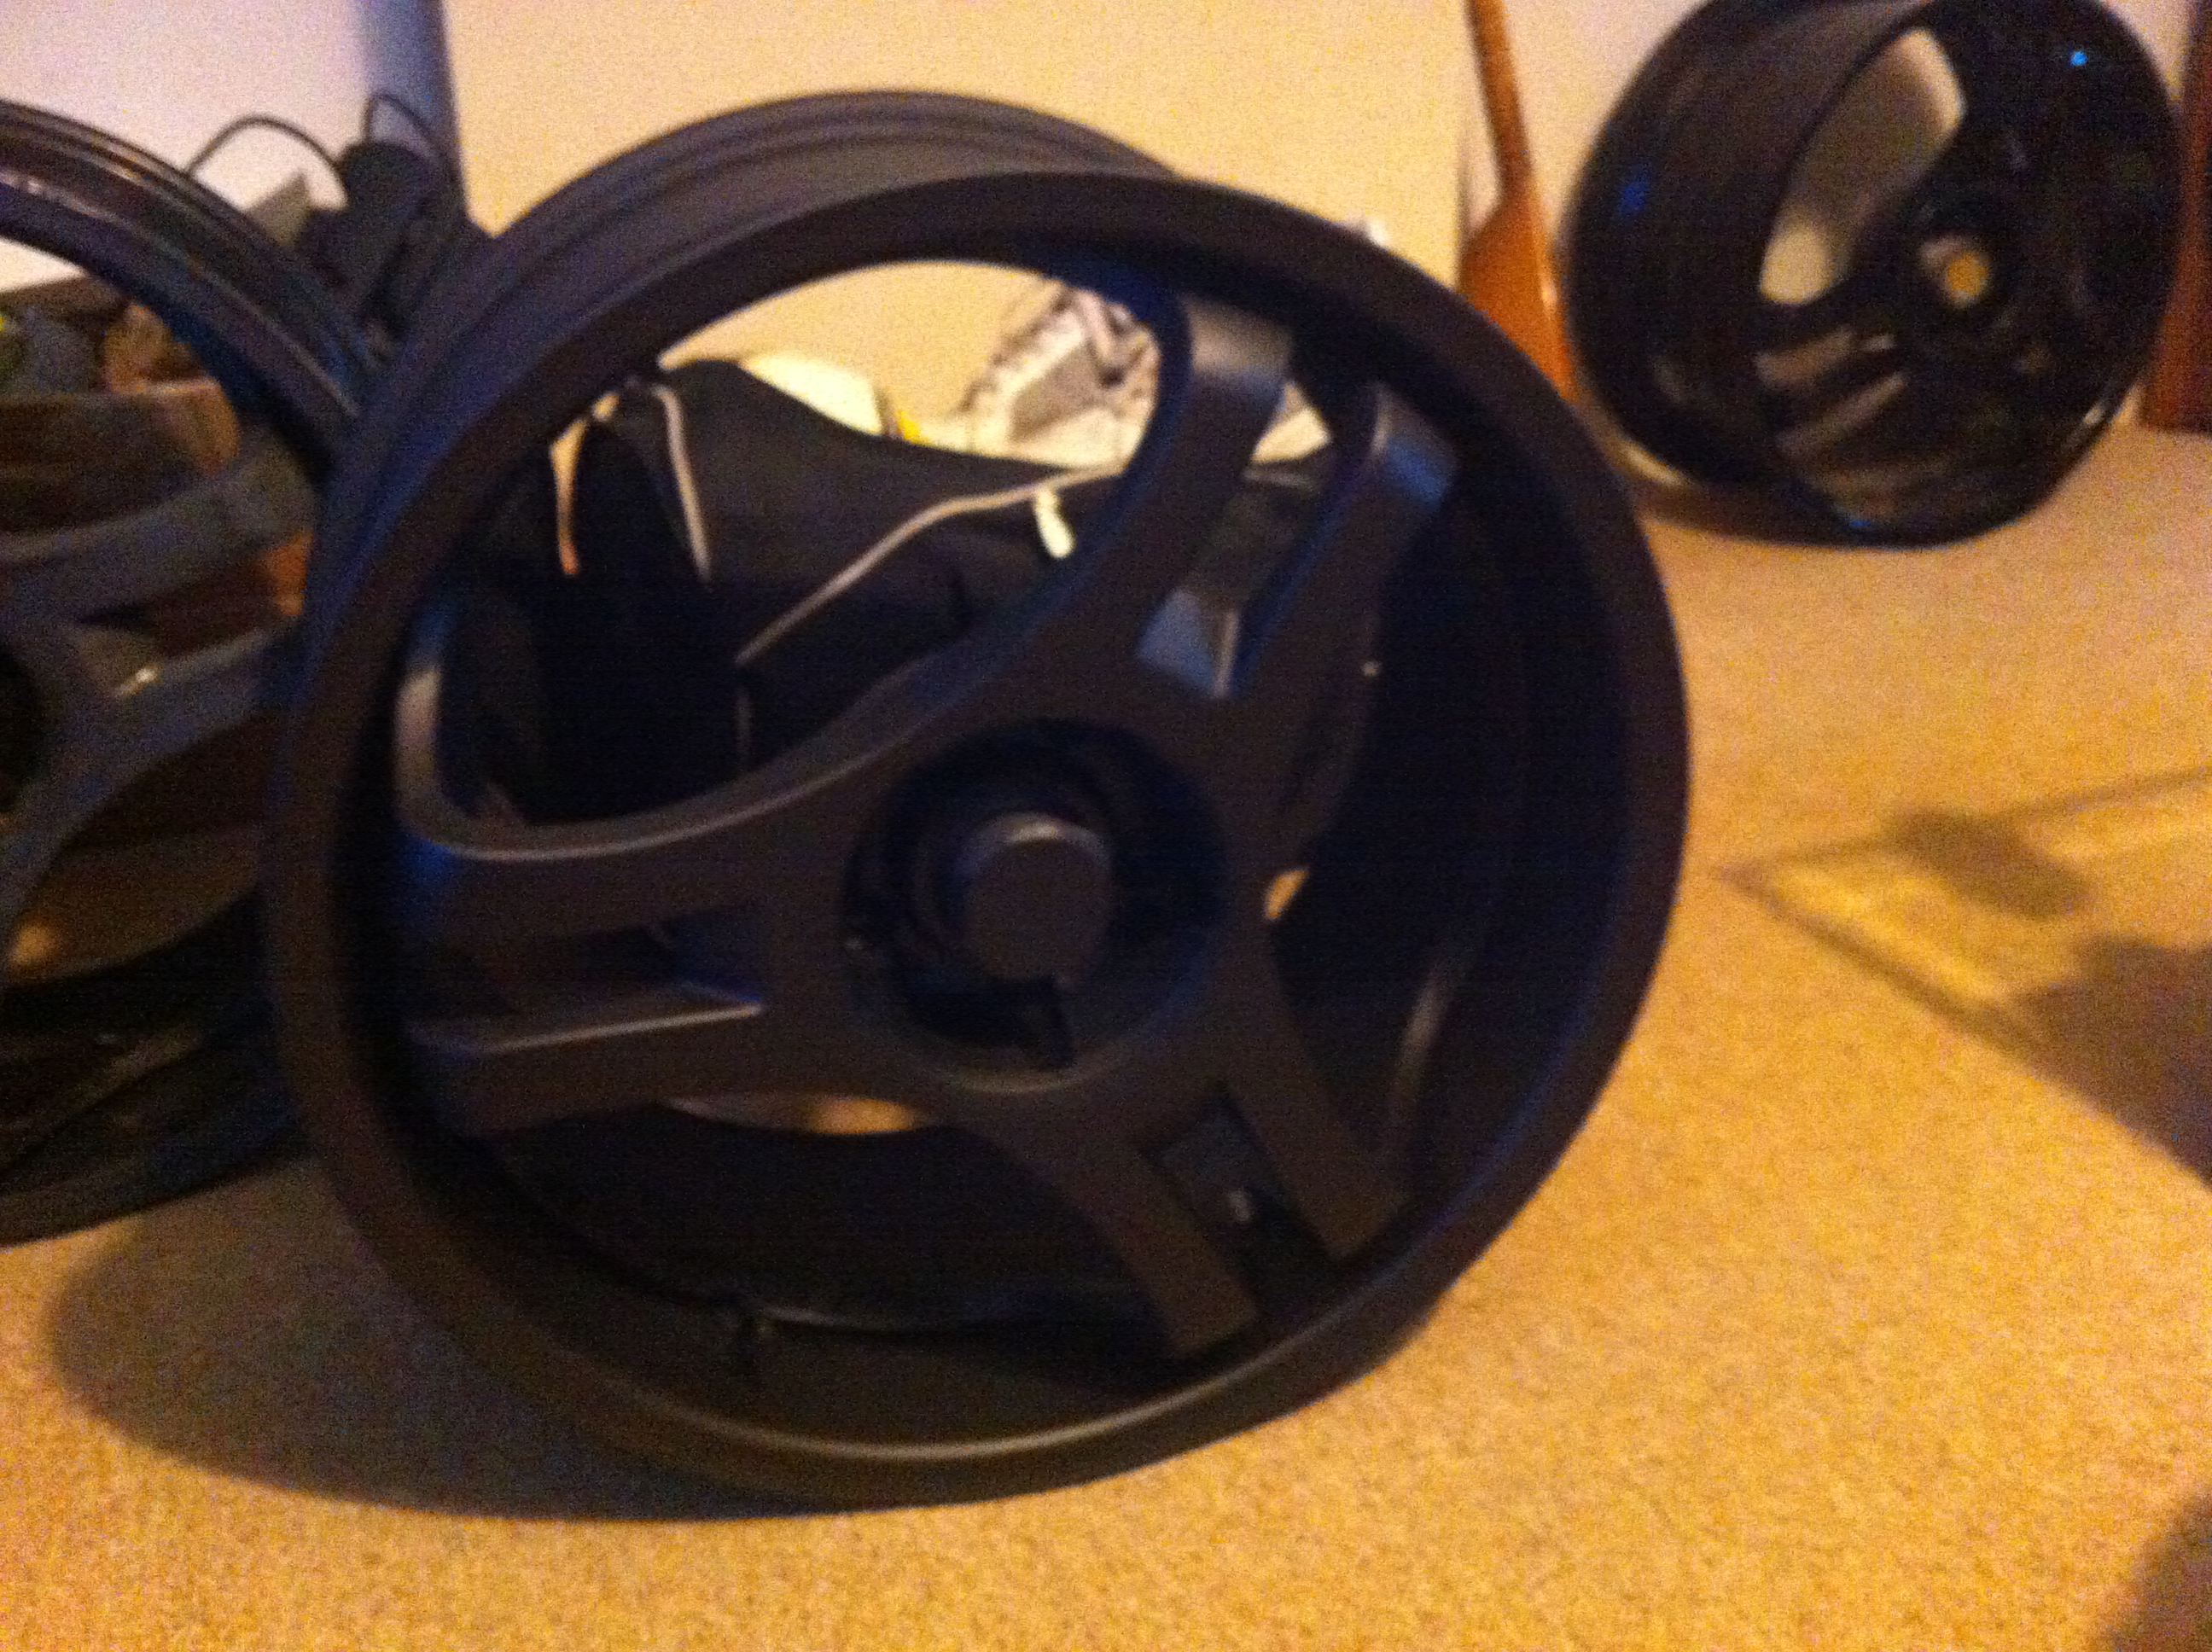
After a good clean, we tackled a wheel each and started to “etch” (lightly sanding to remove bumps and roughen the top layer – this will enable the new paint to adhere to the surface properly.)
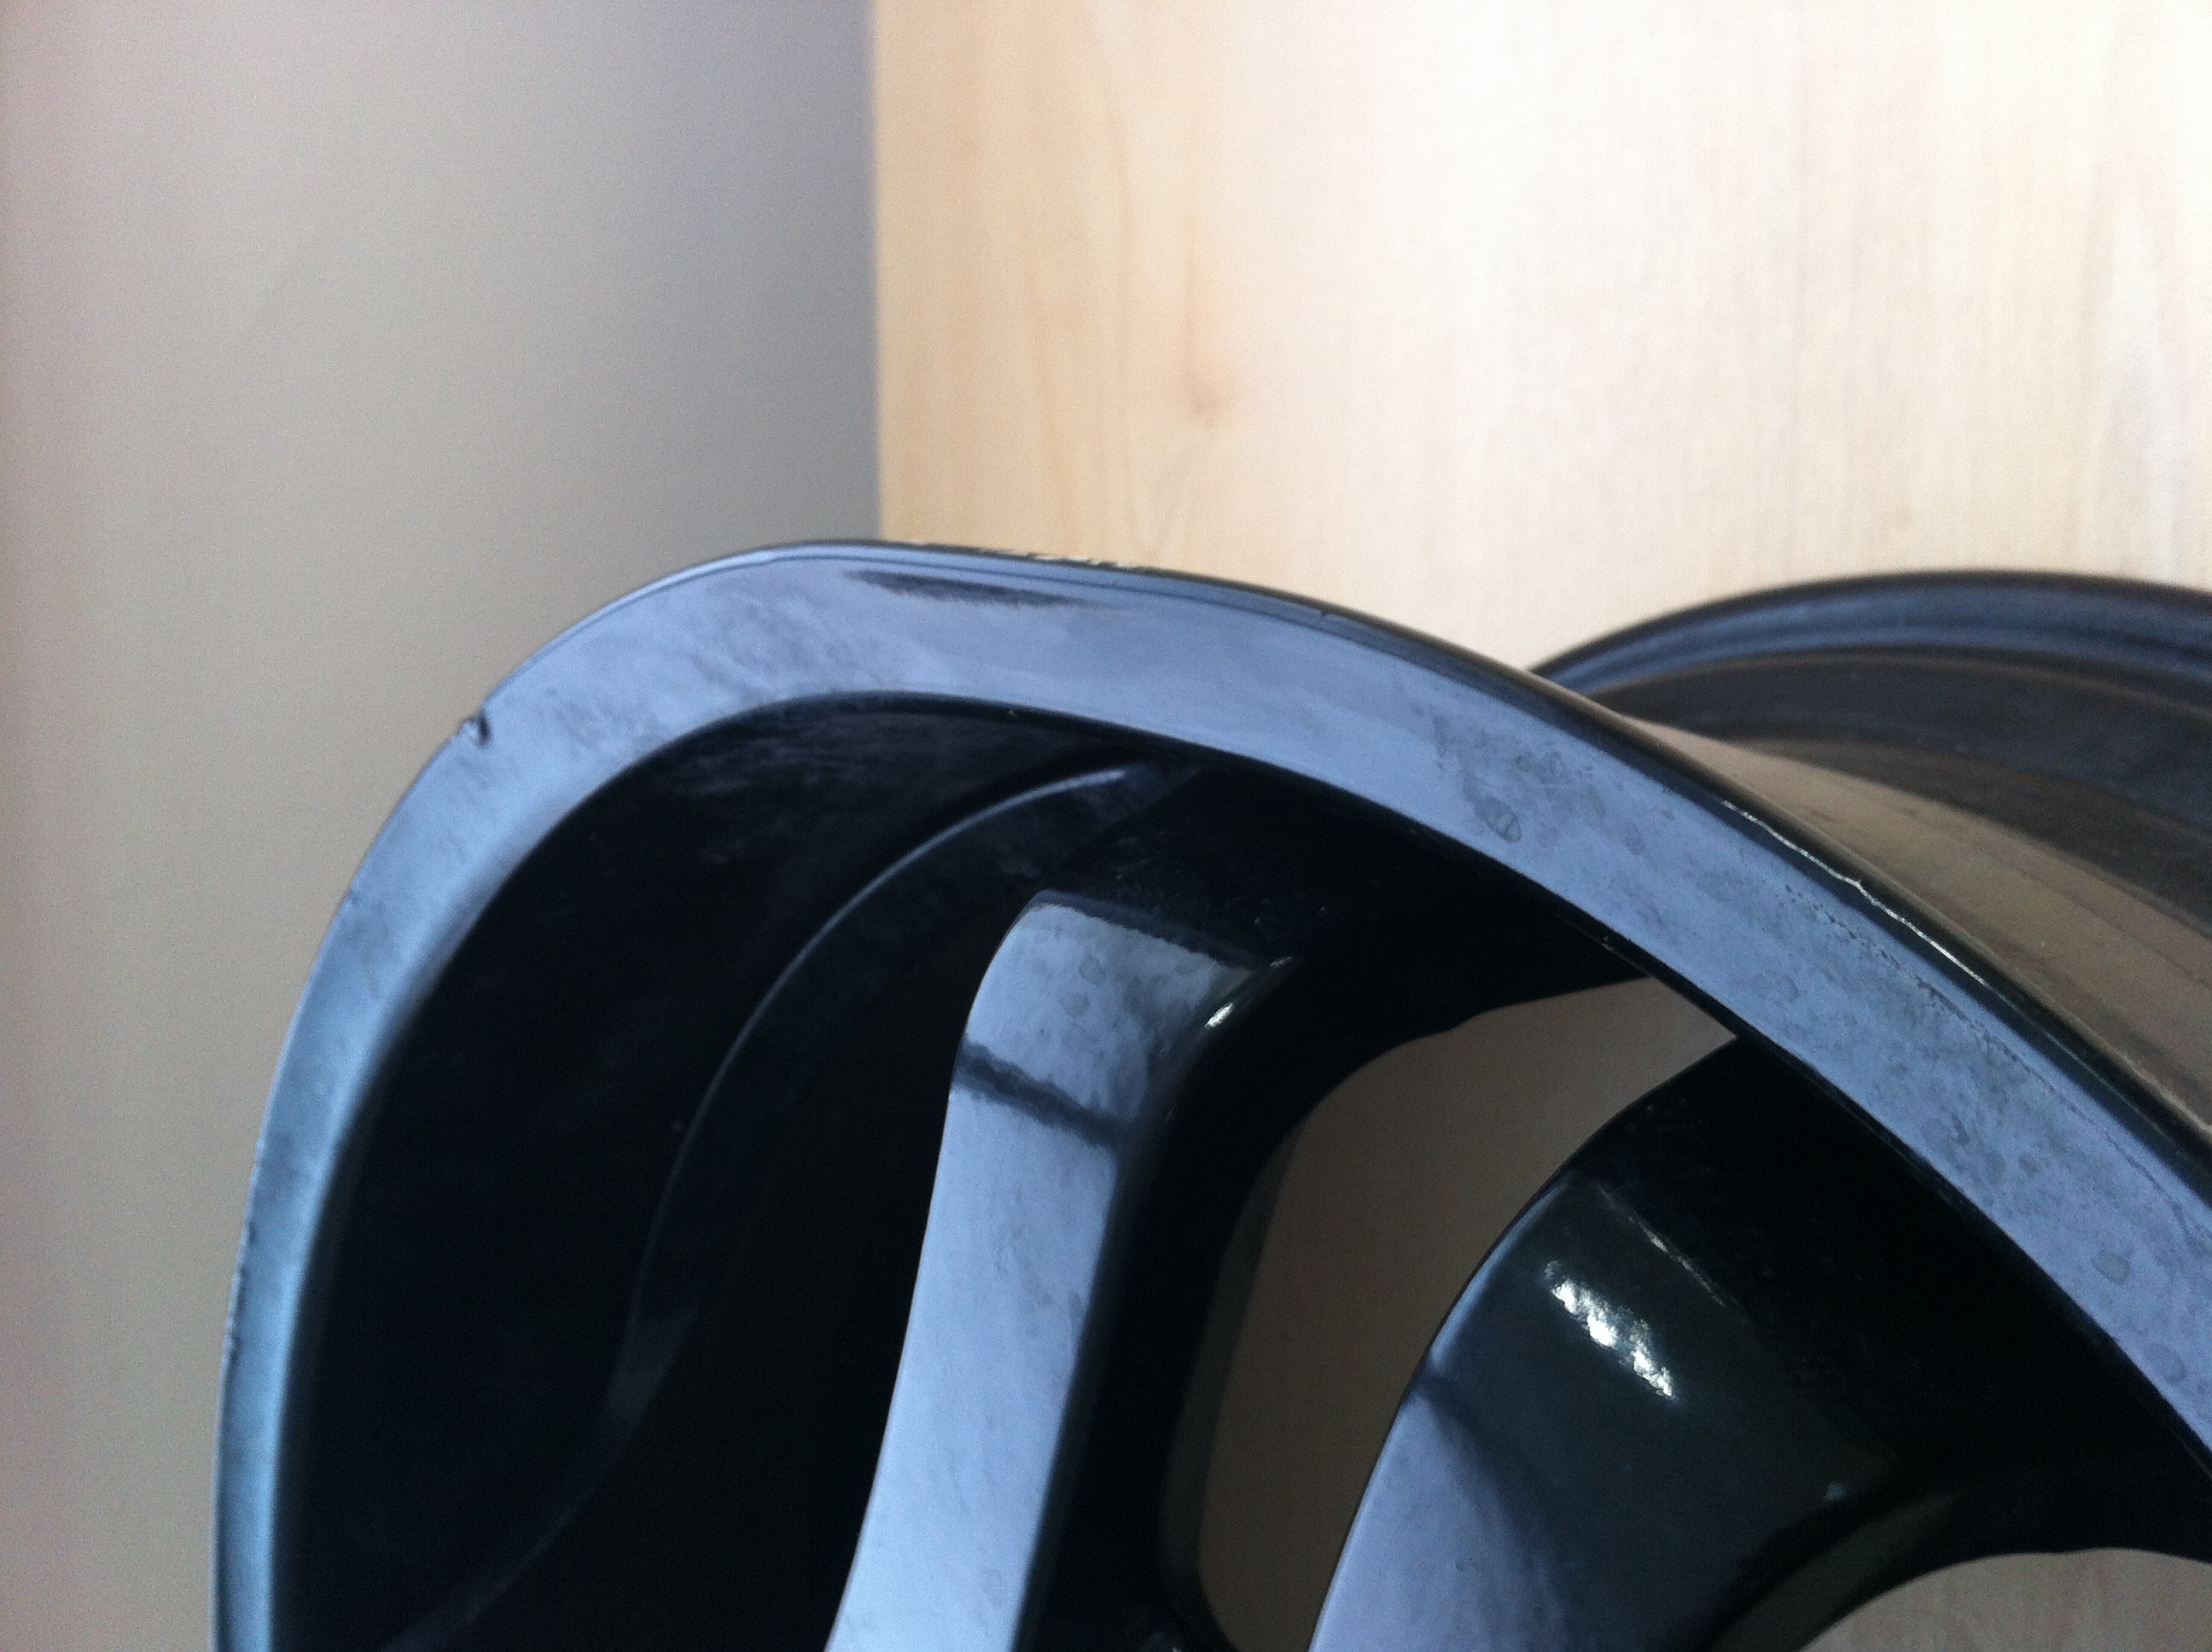
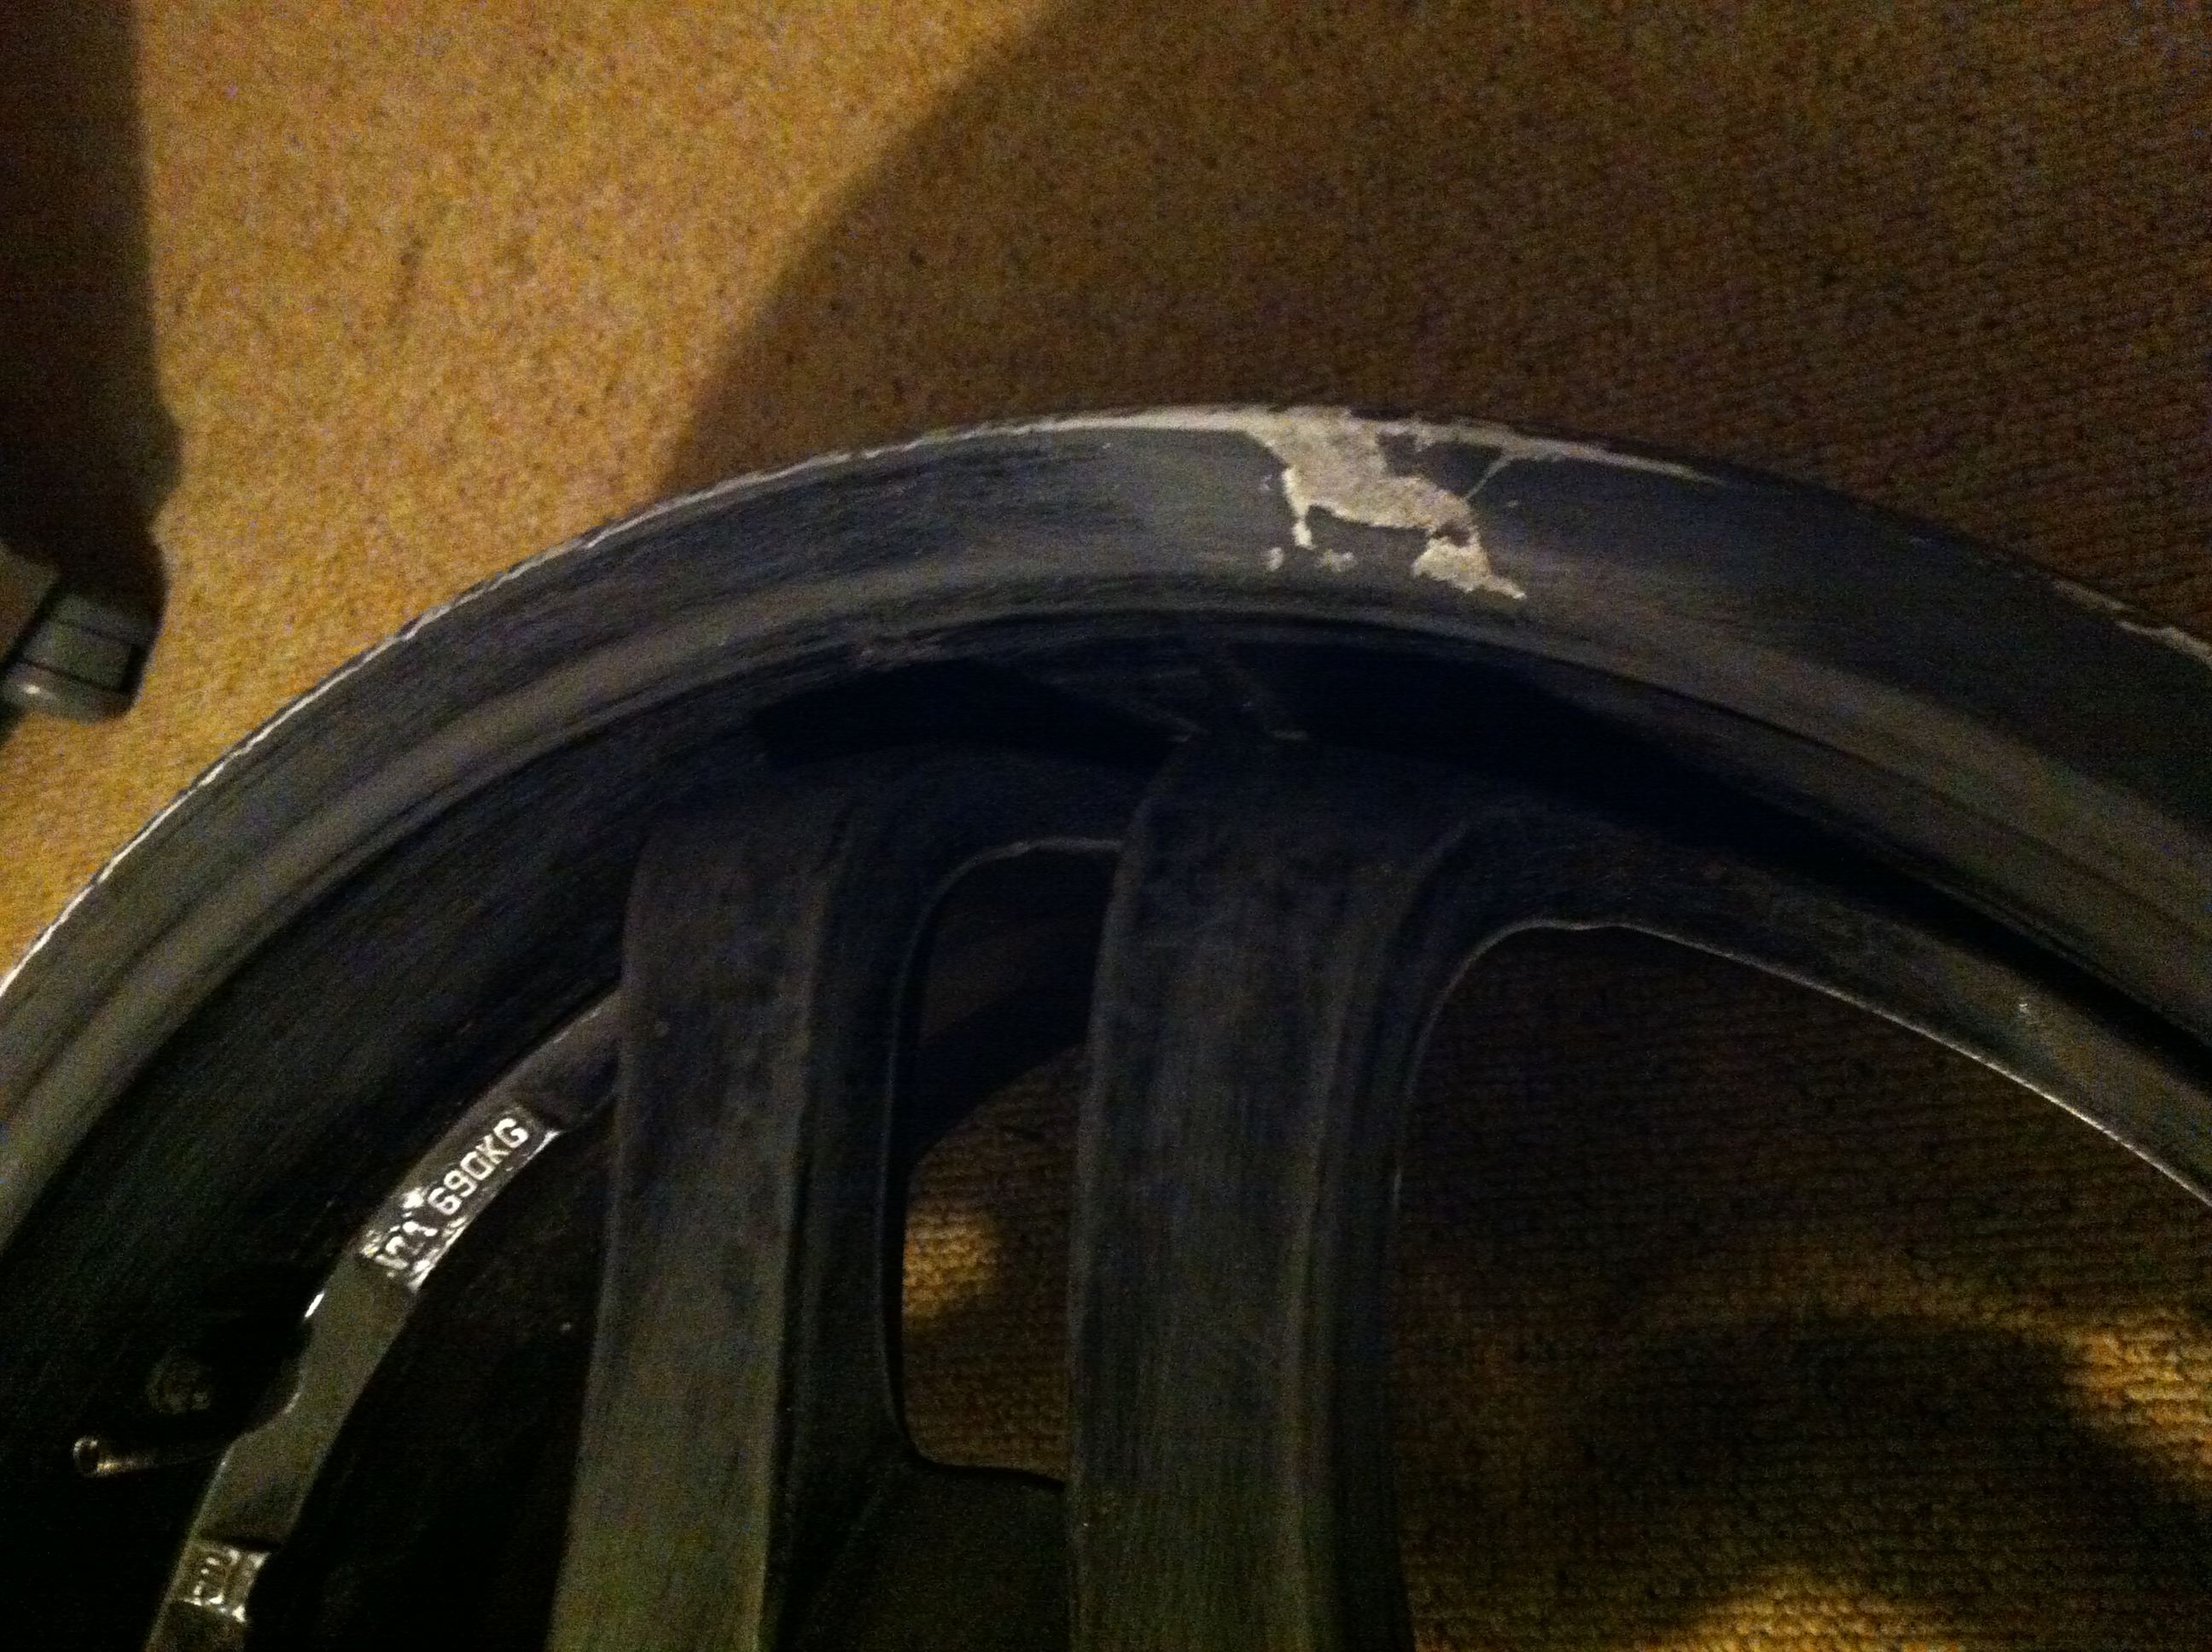
One wheel has a buckle which will be getting repaired soon – Otherwise, the wheels are in pretty good condition, some kerbing and a little bit of corrosion but nothing we can’t sort out:
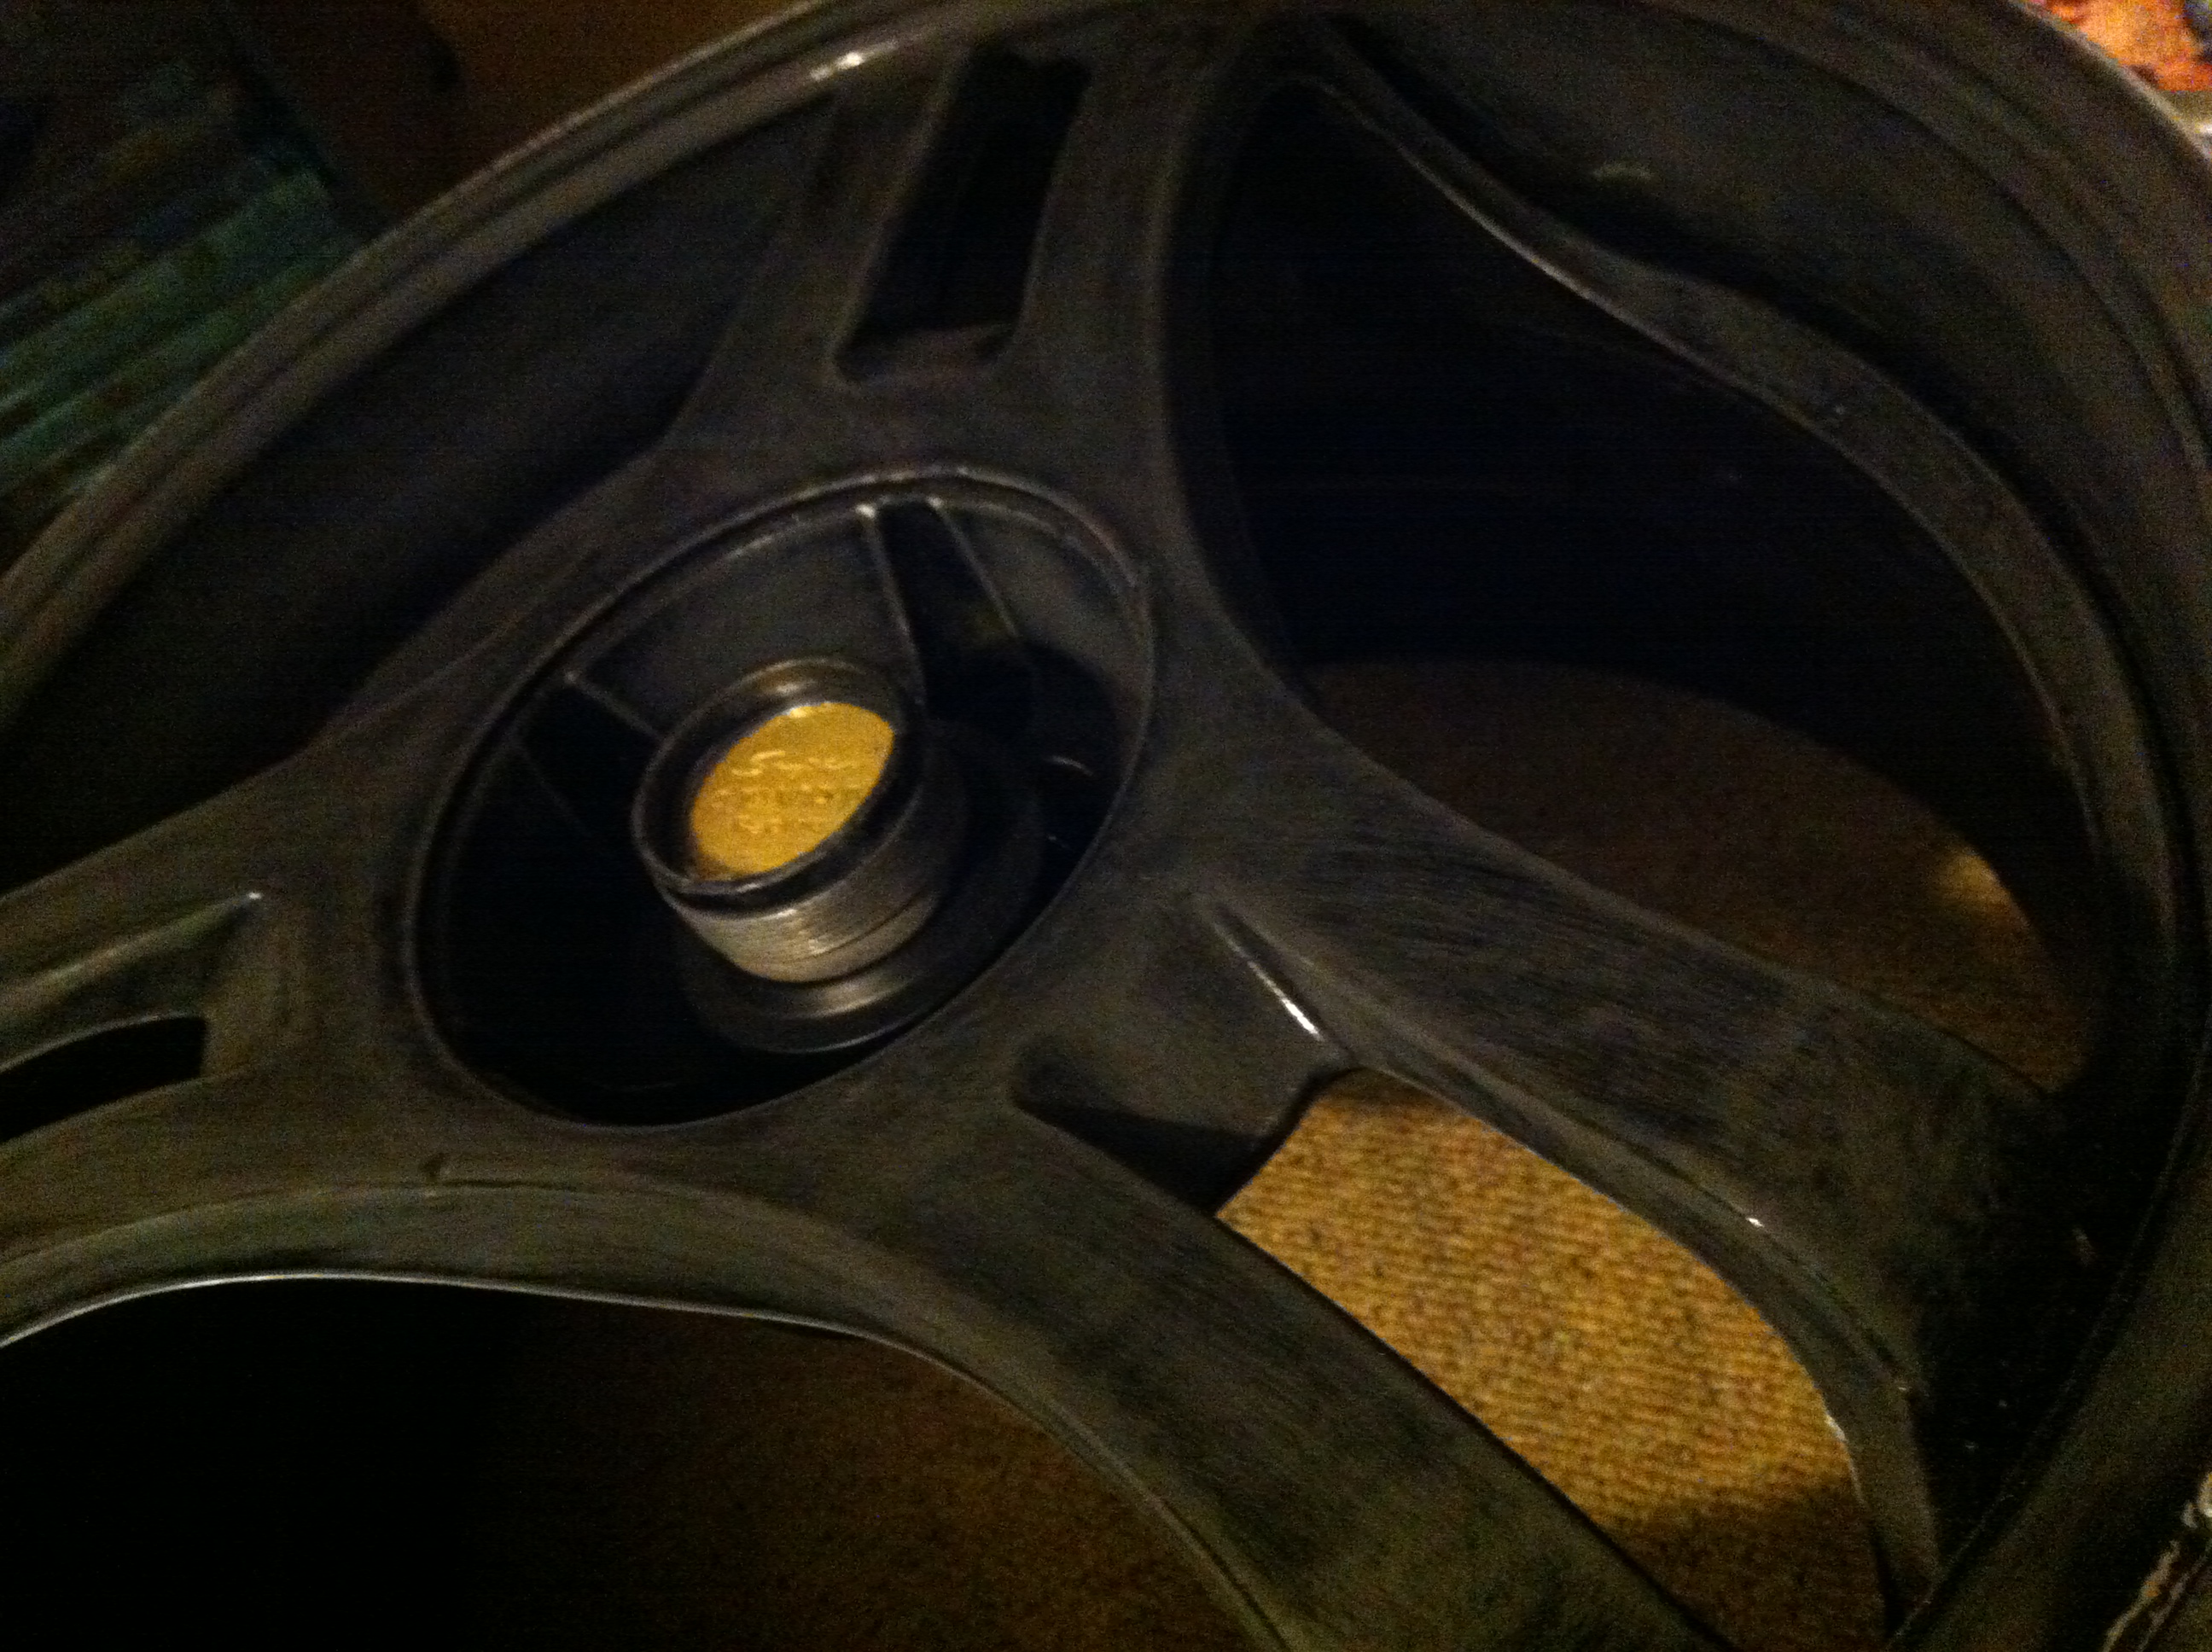
Once happy that all anomalies are removed and the entire surface is a little rough, a quick clean to get rid of the all the dust and debris and onto painting!
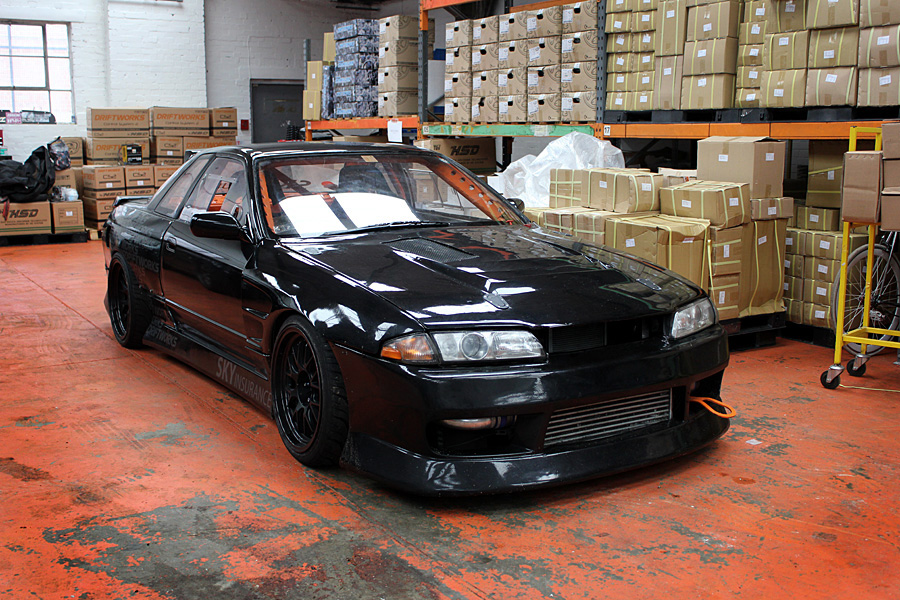
I’m a big fan of the stealth look, I think it suits black cars and I find Matt Black is amongst the more forgiving colours you can use – the car currently has the standard alloys again repainted in matt black.

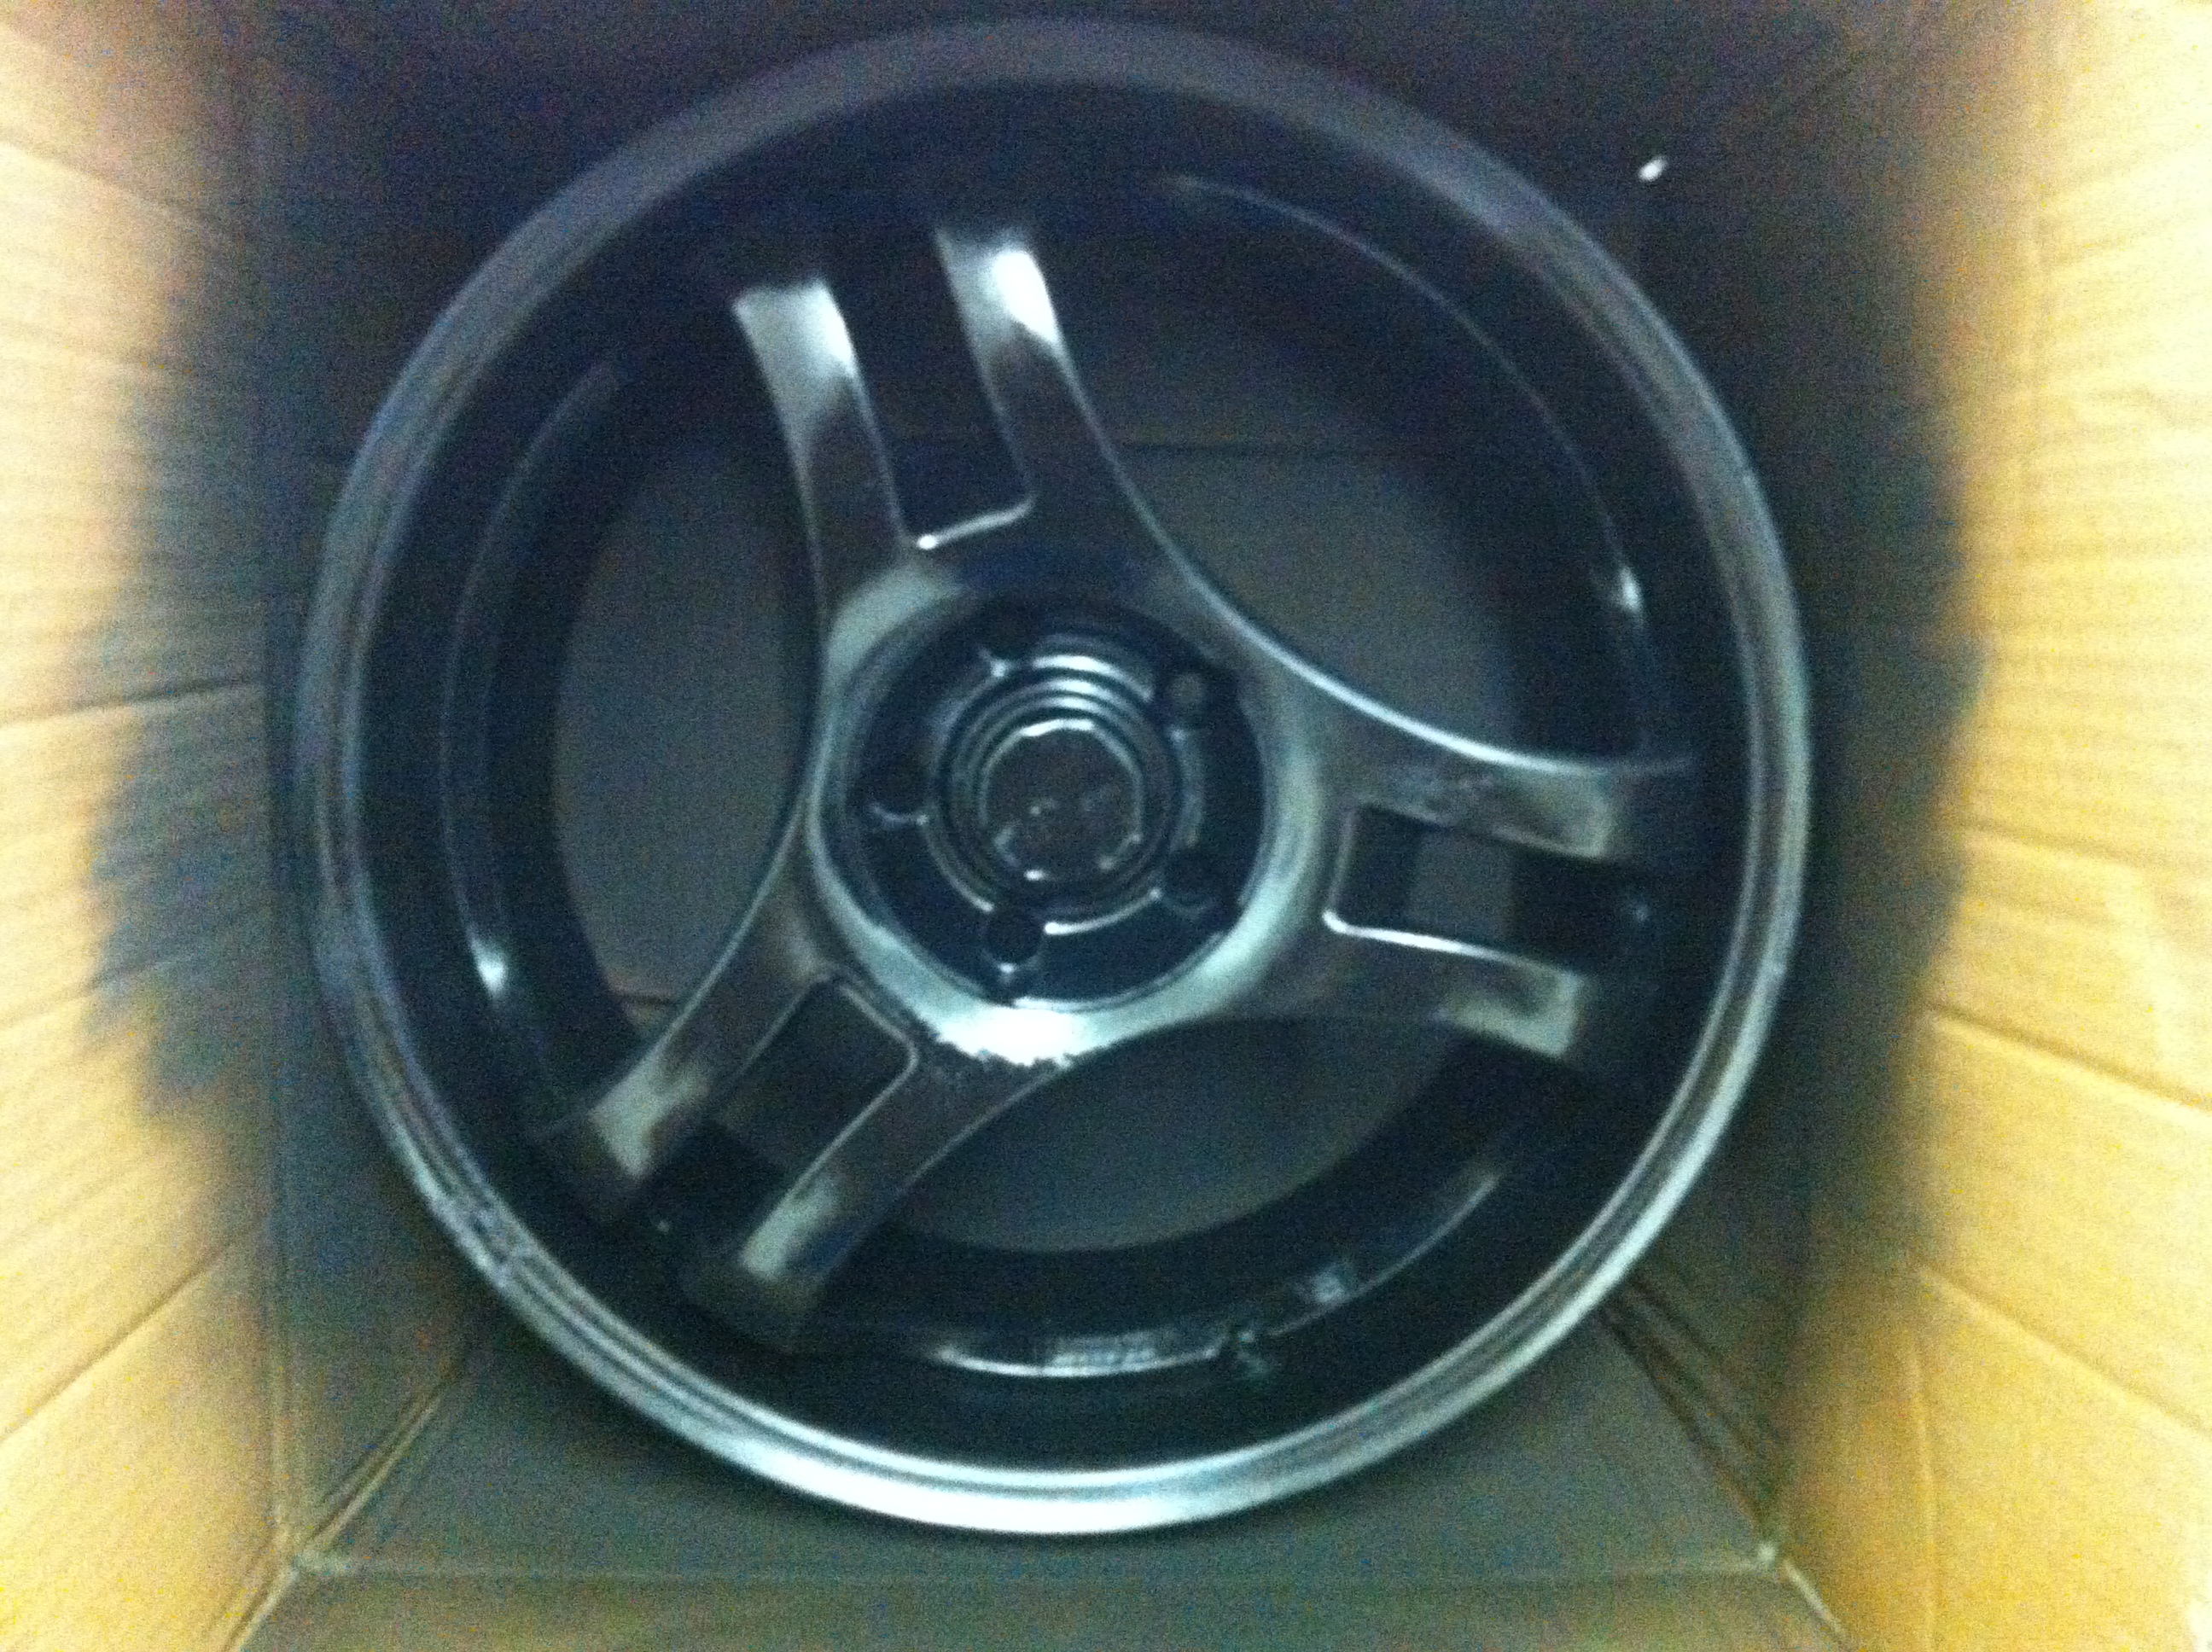
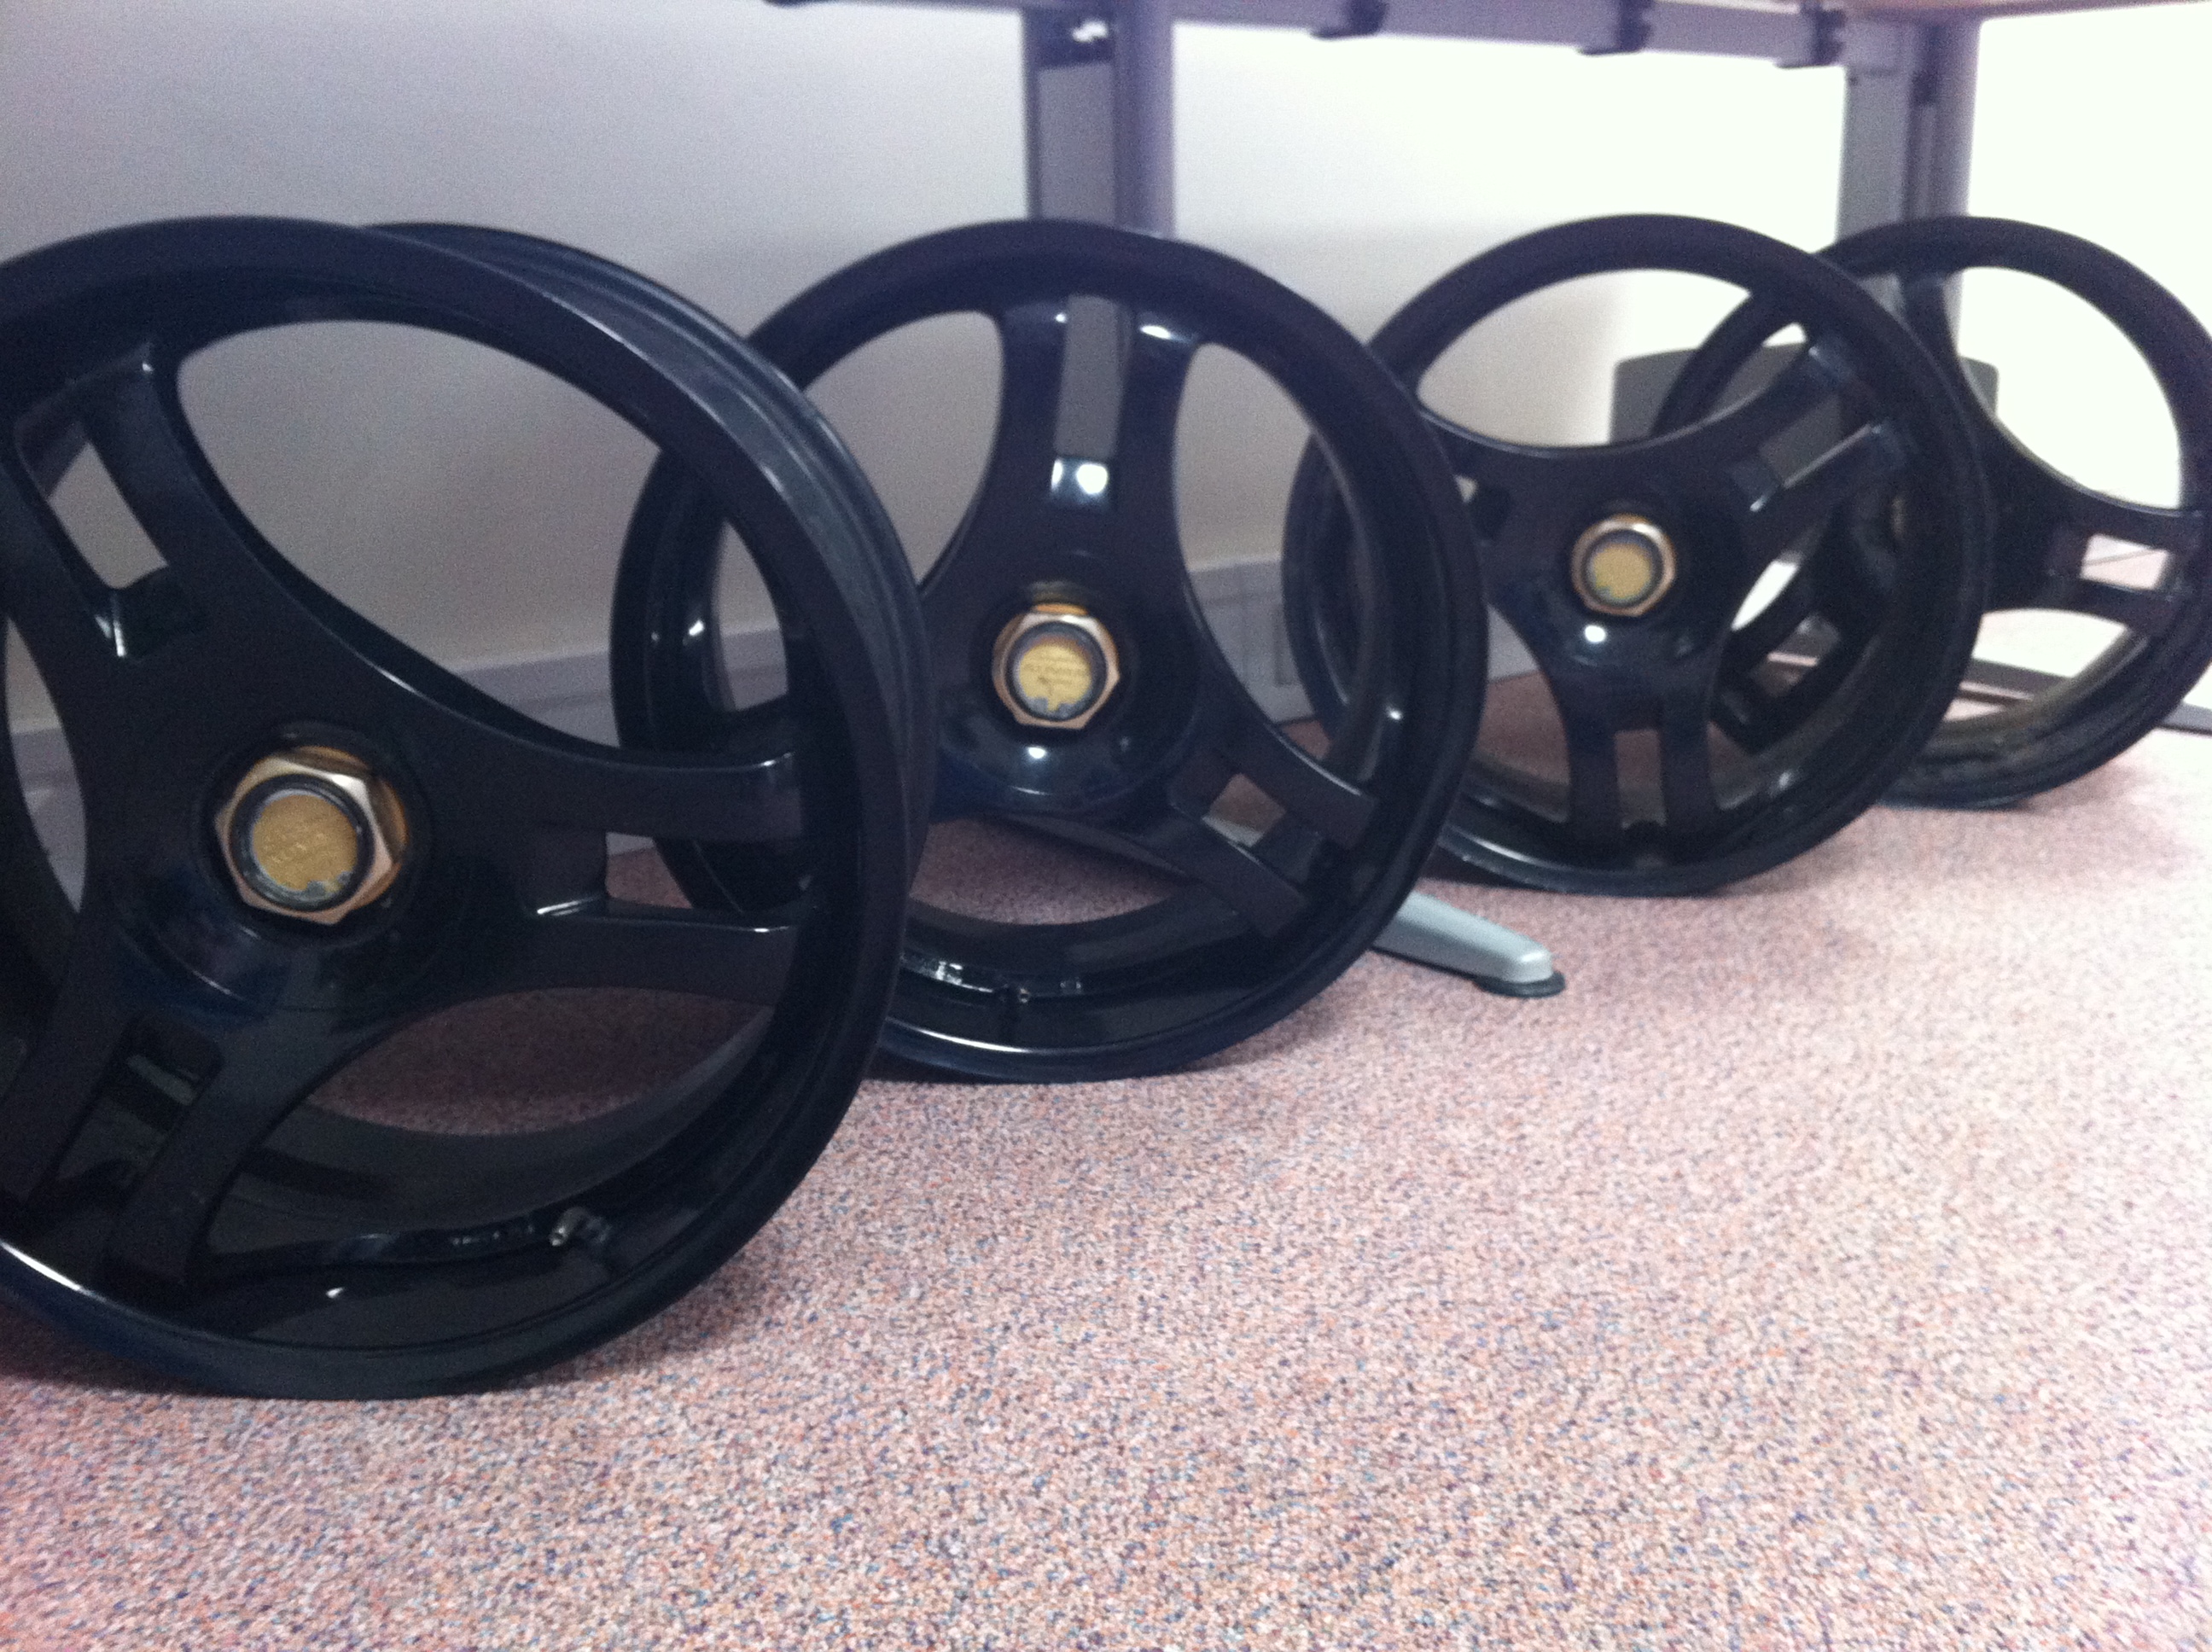
Many coats of paint later, with some light sanding with a fine grade of sandpaper between coats (to prevent uneven/excessive layers of paint)
Here’s the transformation:
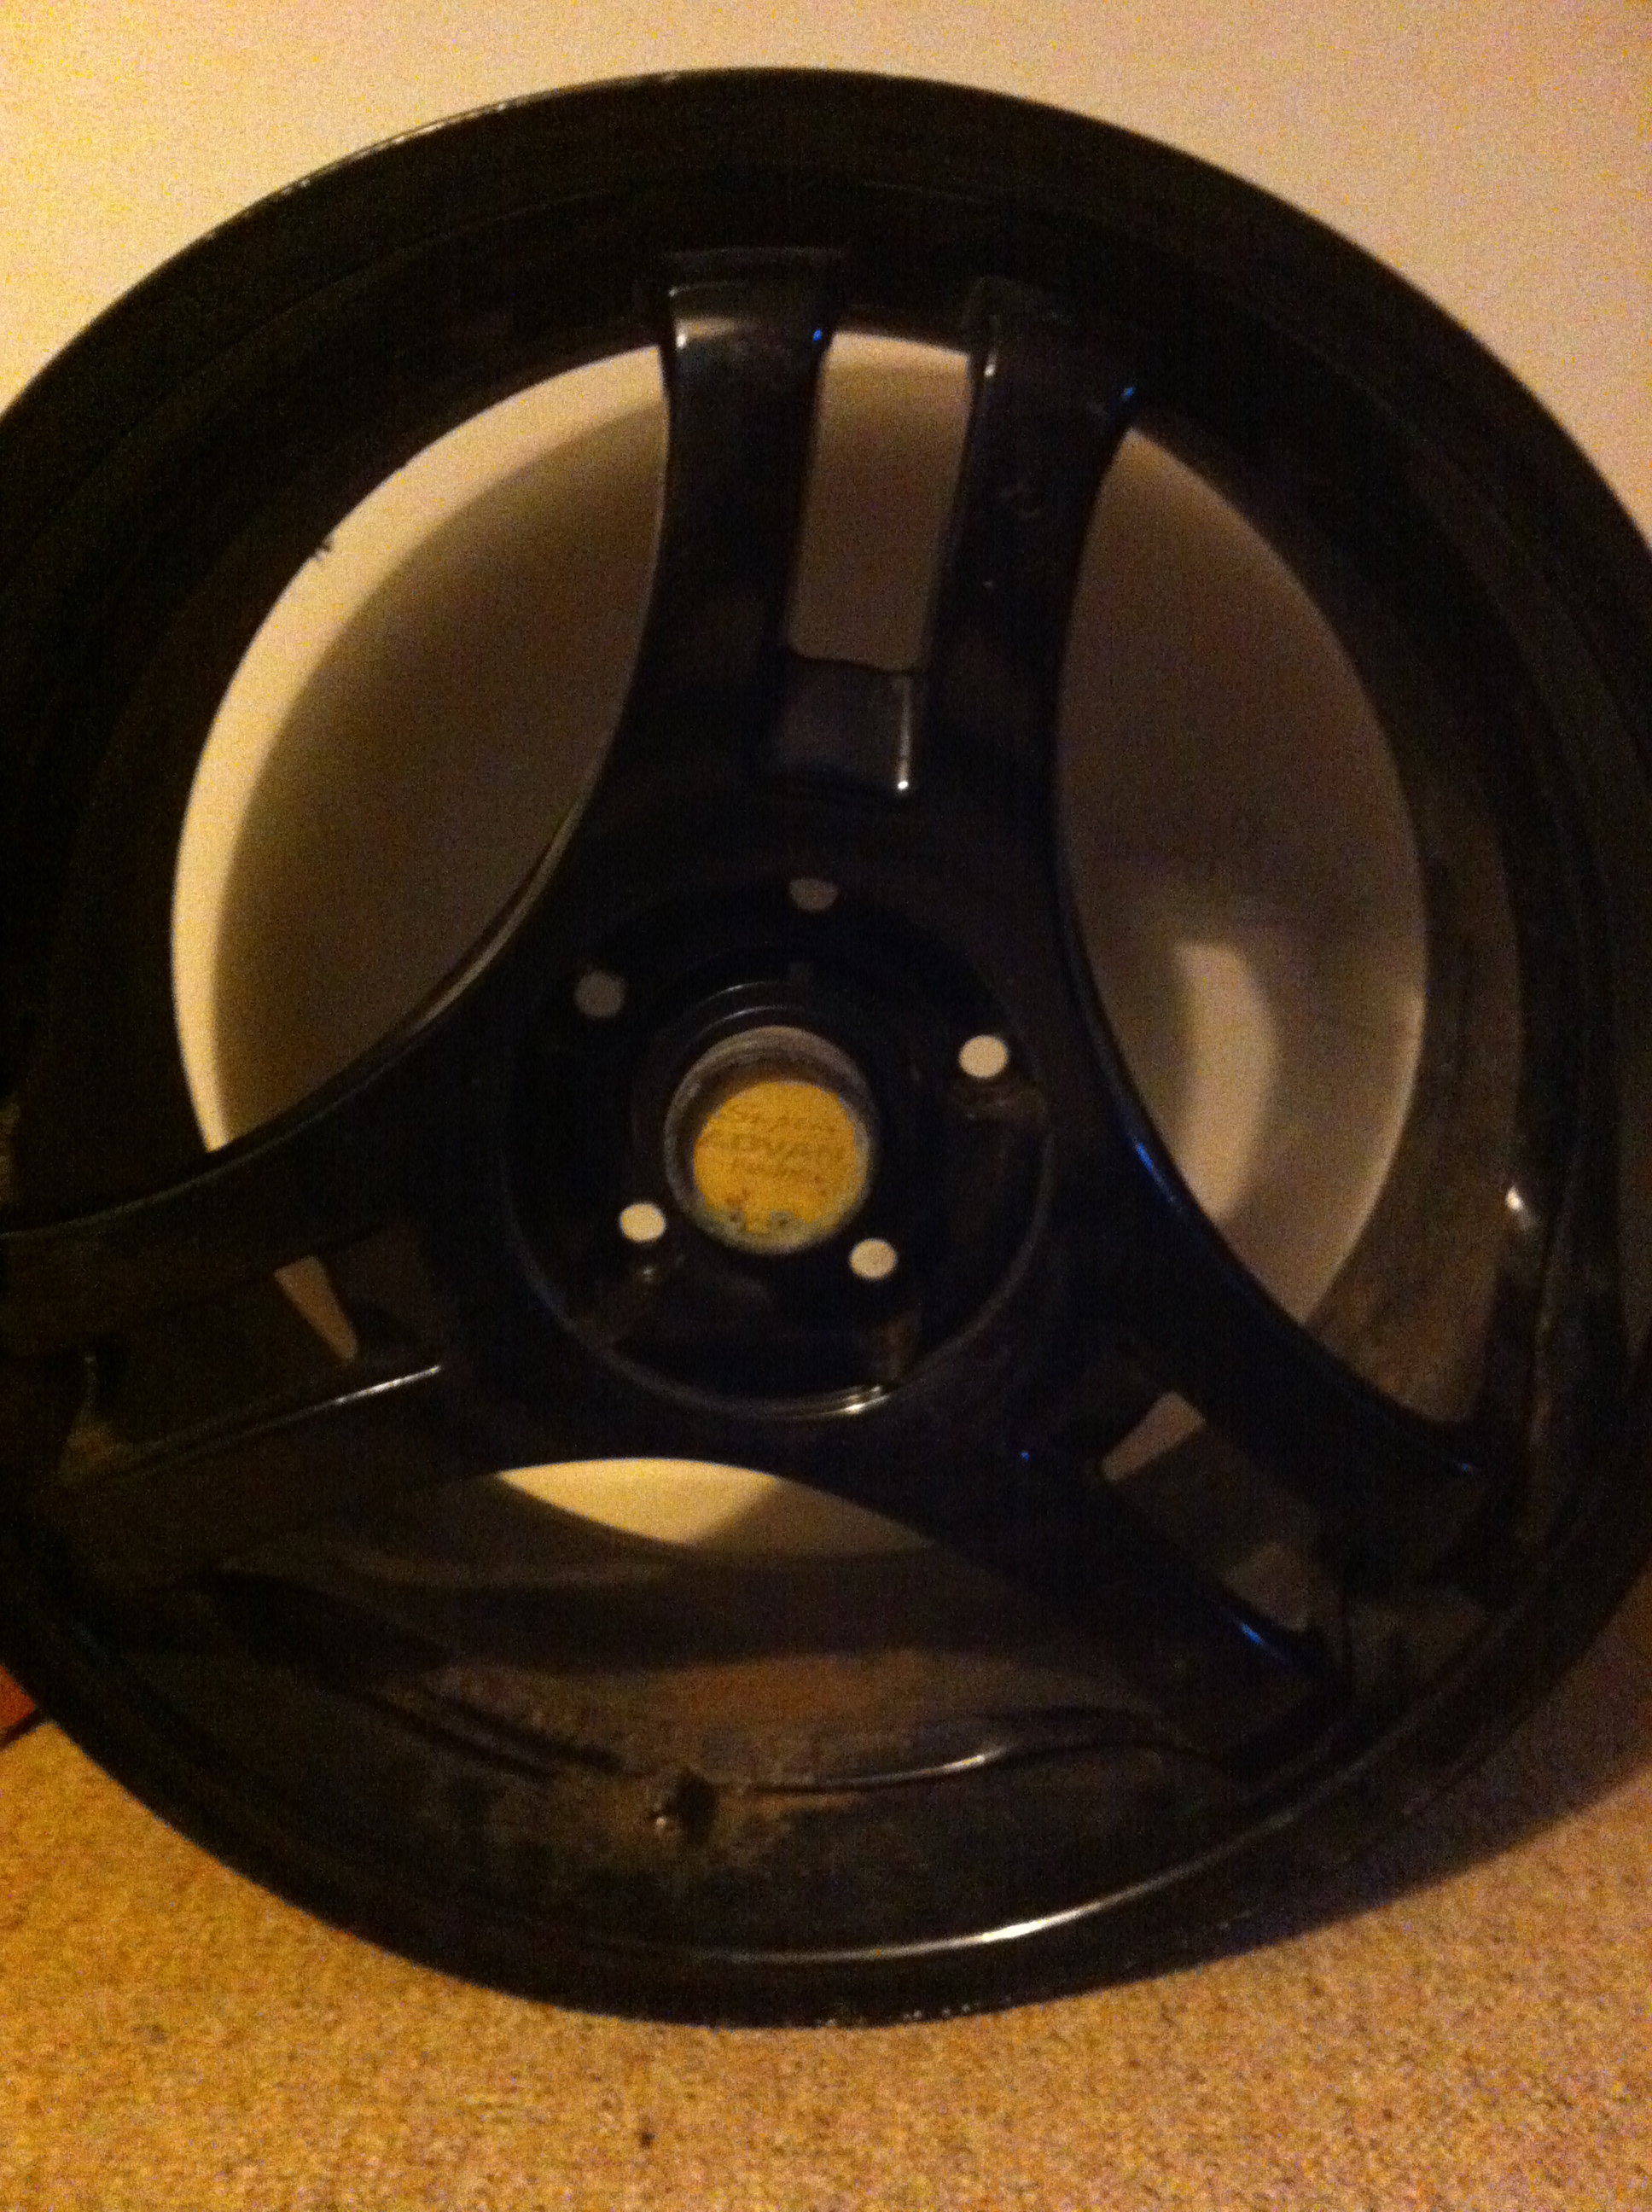

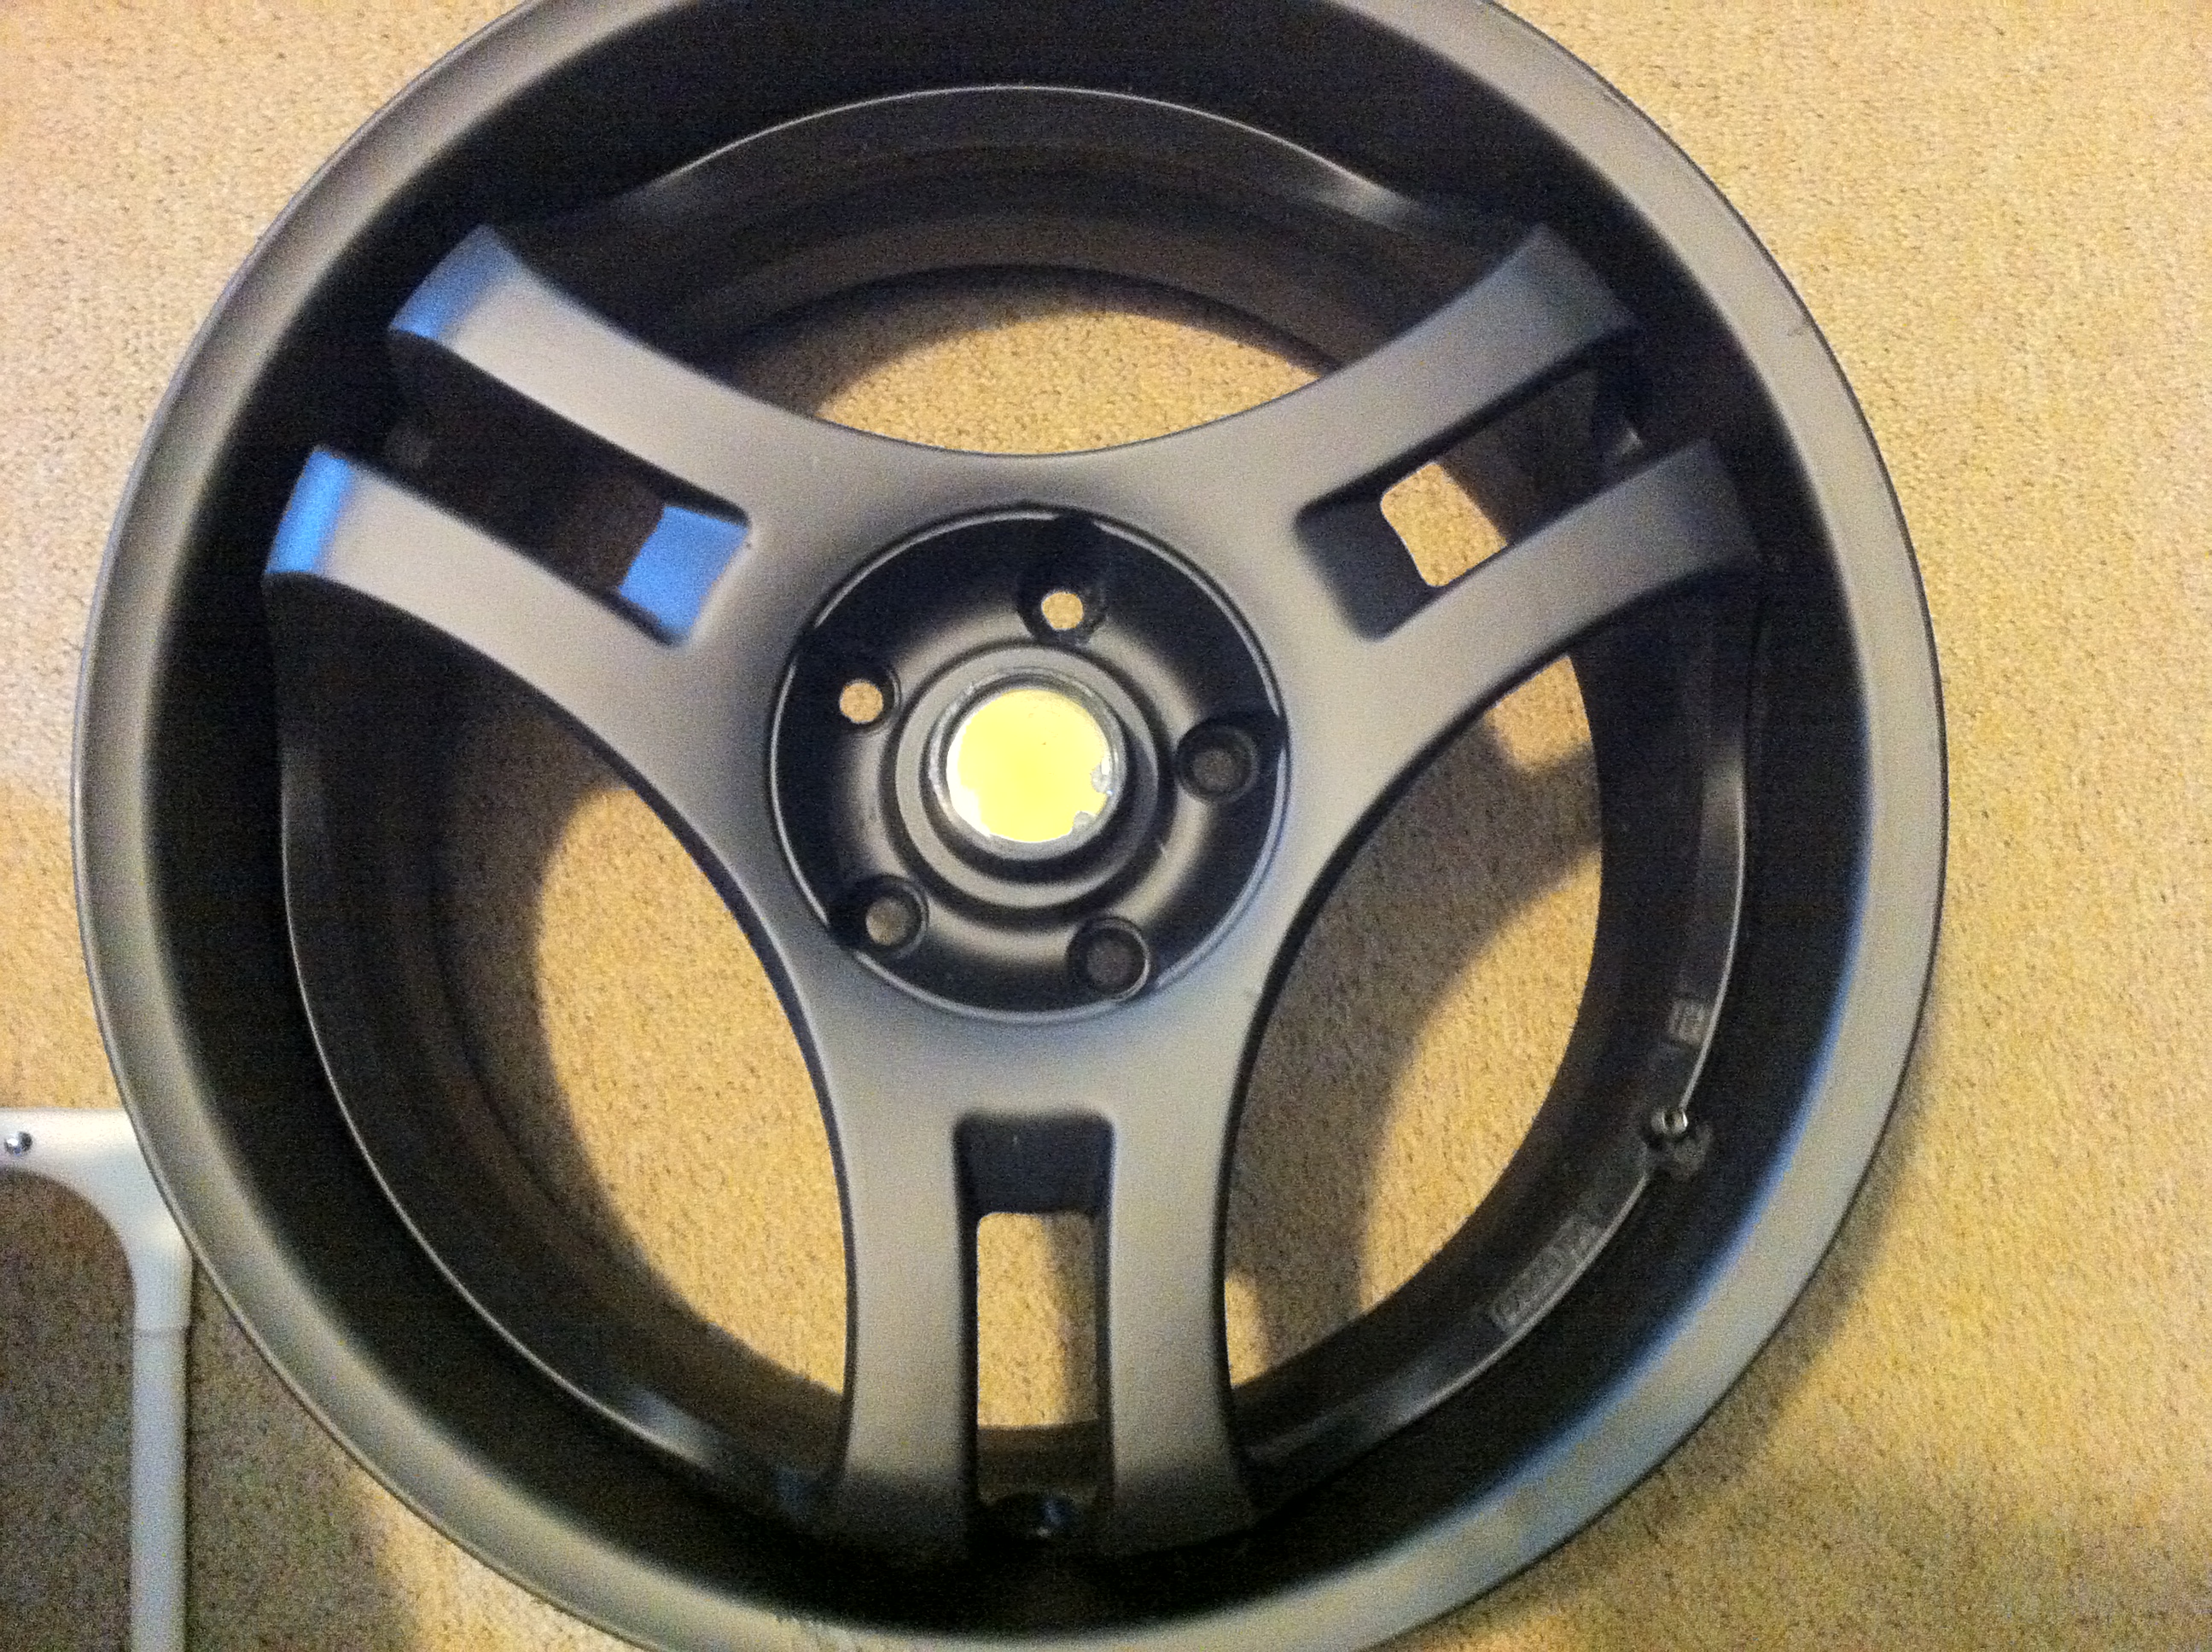
One down….three to go! Watch out for these going on the car in the near future.
To complete the look I’ll be getting a TS Style Rear Diffuser and Stillen Front Splitter too – I might, just might have a go at making both the diffuser and splitter from scratch – So maybe a how to for the future.
I’ll also be redressing my engine bay and giving that a spruce up for the summer soon too.
Earlier How To Guides: Brake Pad Change or Oil Change
10% Off all MOMO products – Click Here for your discount code!
Call for a Quote – 03303 331251
![]()
Related Posts
Our staff at Car Club’s Paul Walker memorial... December 5, 2014 | SafelyInsured Editor 1

Matt Carter’s Audi A5 September 23, 2013 | George Trout

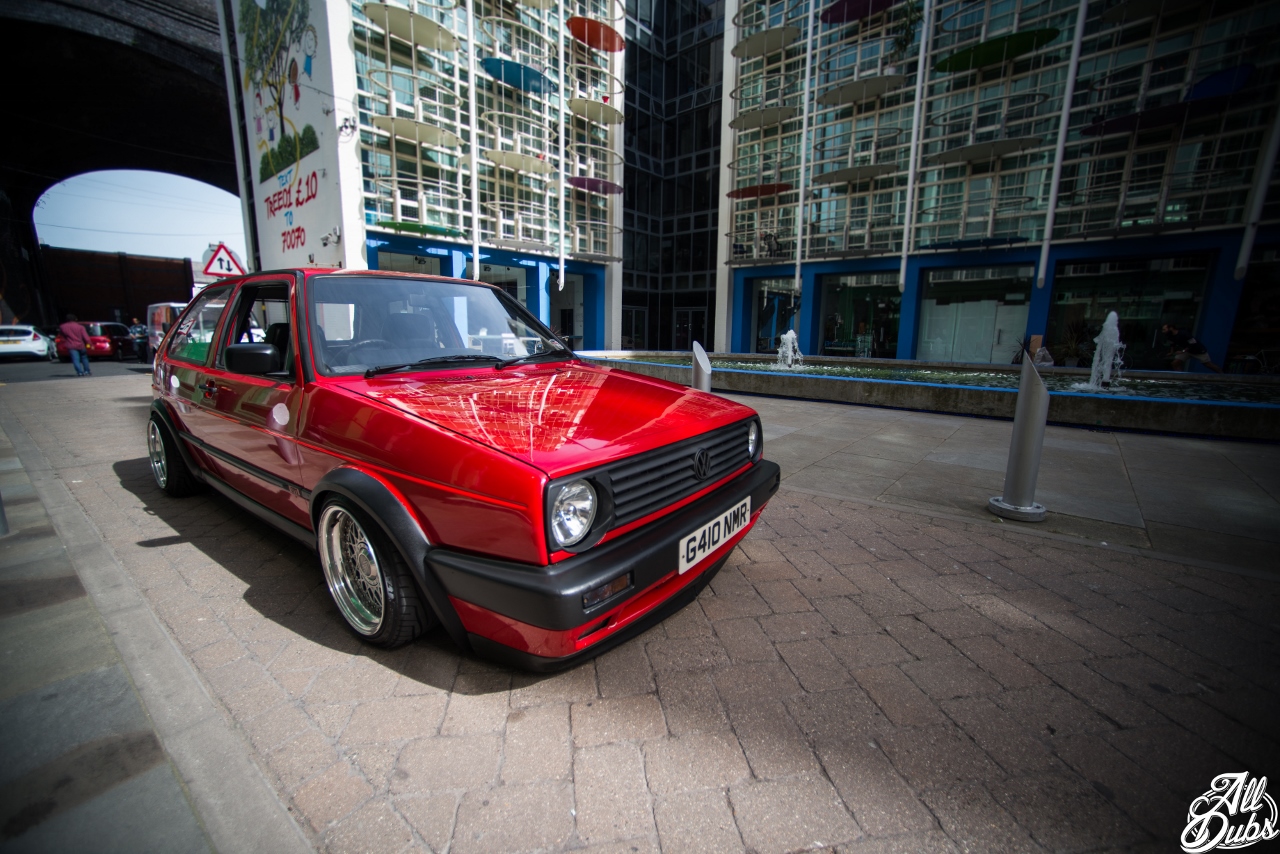
VW Golf – Project Frankenstein! January 16, 2014 | George Trout
Safely Insured / Driftworks Nissan Skyline R32 updated and overhauled!... November 21, 2012 | George Trout